
Read more for all the details on Easy DIY Despicable Me Minion Costume.
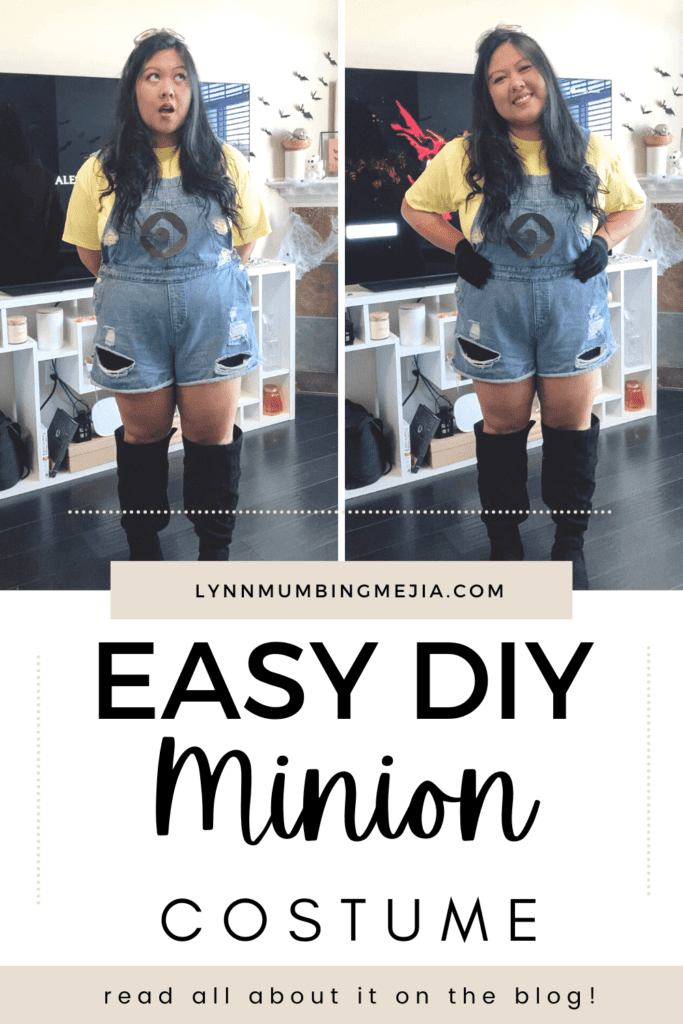
I’ve got another super easy DIY Halloween costume and this post is going to be all about how I put together this minion costume with things I already had or picked up from the dollar store!
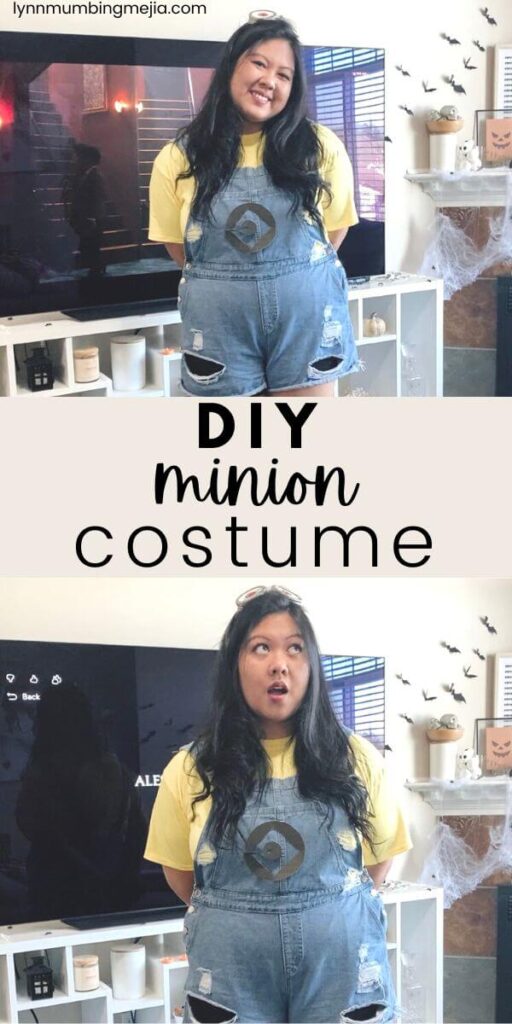
PIN Easy DIY Despicable Me Minion Costume FOR LATER:
This Easy DIY Despicable Me Minion Costume is accompanied by a YouTube Tutorial. If you haven’t subscribed to me on YouTube, don’t forget to!
HERE IS HOW TO MAKE AN EASY DIY DESPICABLE ME MINION COSTUME:
WHAT ARE THE MATERIALS NEEDED FOR THIS DIY DESPICABLE ME MINION COSTUME?
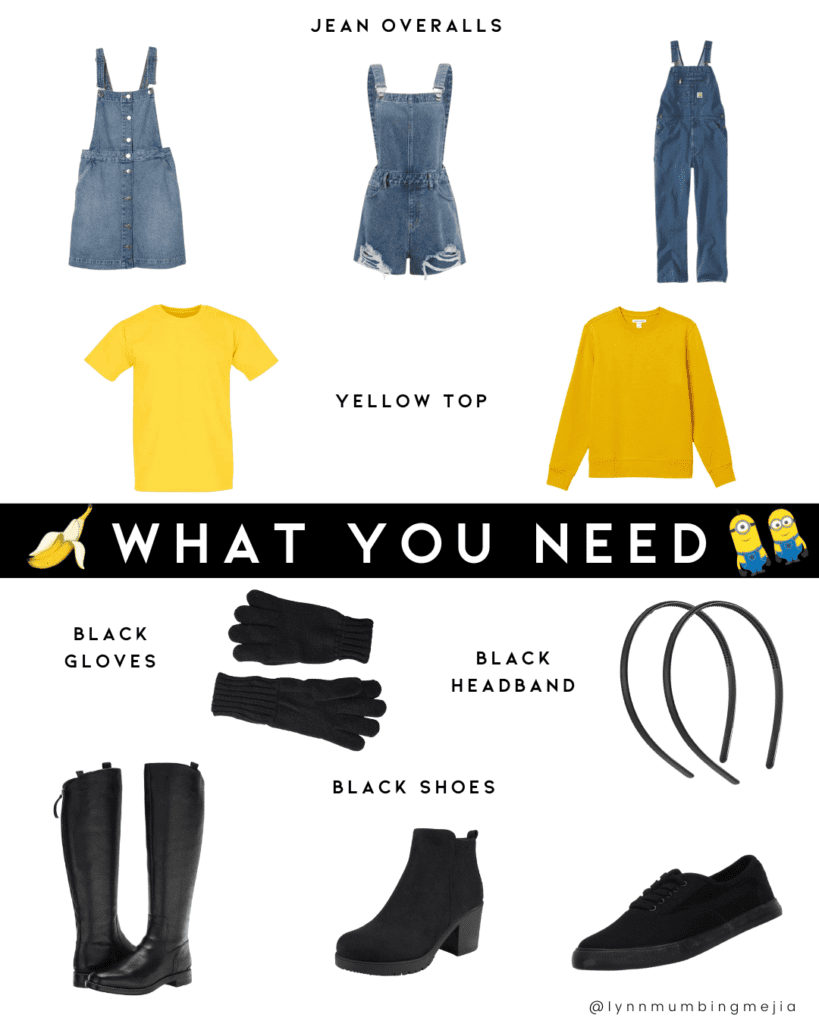
All you’ll need to put this minion costume together is:
- Yellow Top
- Jean Overalls
- Black Headband
- Black Gloves
- Black Shoes

WHERE CAN I FIND THESE MATERIALS?
So, for this DIY costume, I pretty much had everything I needed except the gloves which I just picked up from the dollar store. You can find these super basic outfit pieces from most clothing stores, already in your closet or potentially from thrifting. The mason jar lids I had at home already and I printed the minion eyes and logo from my printer as well.
WHAT EQUIPMENT DO I NEED?
Generally, I never use a lot of equipment to complete my DIY projects but some supplies that I always use are scissors, tape and a glue gun.
CAN I SUB ANYTHING OUT?
Oh, you absolutely can substitute what you want from this costume. I make these DIYs to simply get the creativity going however if something is not available to you or you’d like to tailor the costume to use something that you already have, I highly encourage it!
I choose to glue my minion eyes to my headband but you can move this elsewhere or maybe use a different hair accessory or hat to glue them onto.
DOES THIS COSTUME LAST TO USE FOR THE FOLLOWING YEARS?
Oh, this costume can absolutely last you to use it again on another Halloween! This costume is super easy to put together and you can save your minion logo, and mason jar minion eyes! If you do end up messing up your costume by accident the night you wear it, you can always just recreate it again!
HOW LONG DOES IT TAKE TO MAKE?
Making this minion costume took me under an hour to put together. The only thing that took me a little bit longer is that I cut the logo very precisely and it had a lot of tight corners so I wanted to be careful. I also curled my hair and put makeup on but honestly, if you’re just putting the costume together, it should take you about 15-20 minutes.
INSPIRATIONS FOR THIS COSTUME?
There really isn’t much I can say about the inspiration behind this costume. The latest minion movie came out over the summer and I thought wait a minute! I have everything to make this minion costume myself at home so I did and it ended up being super cute put together!
You can just dress up by yourself, as a couples costume, a friends group or even a family costume.
ANY OTHER NOTES?
No other notes for this one! Hope that you all look super cute in this.
STEPS TO DO THIS DIY DESPICABLE ME MINION COSTUME:
Step 1: On your computer, print out the Minions/Gru’s Lab Logo and Minion Eyes to cut out.
Step 2: Cut the minions logo to tape on your outfit and cut the circle minion eyes to place in the mason jar lids.
Step 3: Put on your yellow shirt, overalls, black gloves and black shoes then place on your logo either with strong tape on your chest or top of your stomach.
Step 4: Finish it off with your minion eyes headband and have a great night!
Would you dress up as a Minion for Halloween!? Share with your bestie or partner if this is the costume for you guys this year!
Xo,
Lynn
Are you making this Easy DIY Despicable Me Minion Costume?! Don’t forget to tag me if you do!

This blog post is all the details on Easy DIY Despicable Me Minion Costume.
P.S: If you haven’t read my most recent post, click here!
PIN Easy DIY Despicable Me Minion Costume FOR LATER:
If you liked reading Easy DIY Despicable Me Minion Costume, you might like these are well!
DIY Starbucks Frappuccino and Barista Costume
Cute and Cheap DIY McDonald’s French Fries Costume
30+ Fun Halloween Costume Party Ideas
30+ Adorable Amazon Halloween Costume Ideas for Pets
30+ Fun DIY Halloween Costume Ideas for Kids
30+ Awesome DIY Halloween Costume Ideas for Couples
This is the end of Easy DIY Despicable Me Minion Costume.


Cool costumes, I never tried a minion one before but would fun idea for Halloween day. Thank you for sharing!
This is such an amazing costume. So cute. Thanks for sharing the materials on how to do it and love the pics.
This is such a cute costume; I love the Minions so much too!
love this costume idea! my husband and i were minions one year for halloween and it’s one of my favorites. i also feel like this would be a cute option for a family as well. hope you have a wonderful halloween, lynn!