
Read more for all the details on Garlic Lemongrass Chili Oil.
I LOVE spicy foods. I love it so much that it is my choice of condiment ALWAYS. I straight up use sriracha as a salad dressing too! My favourite condiment to add to soups, especially pho is chilli oil. I often love making batches at home that I can customize and it takes my dishes to the next level!
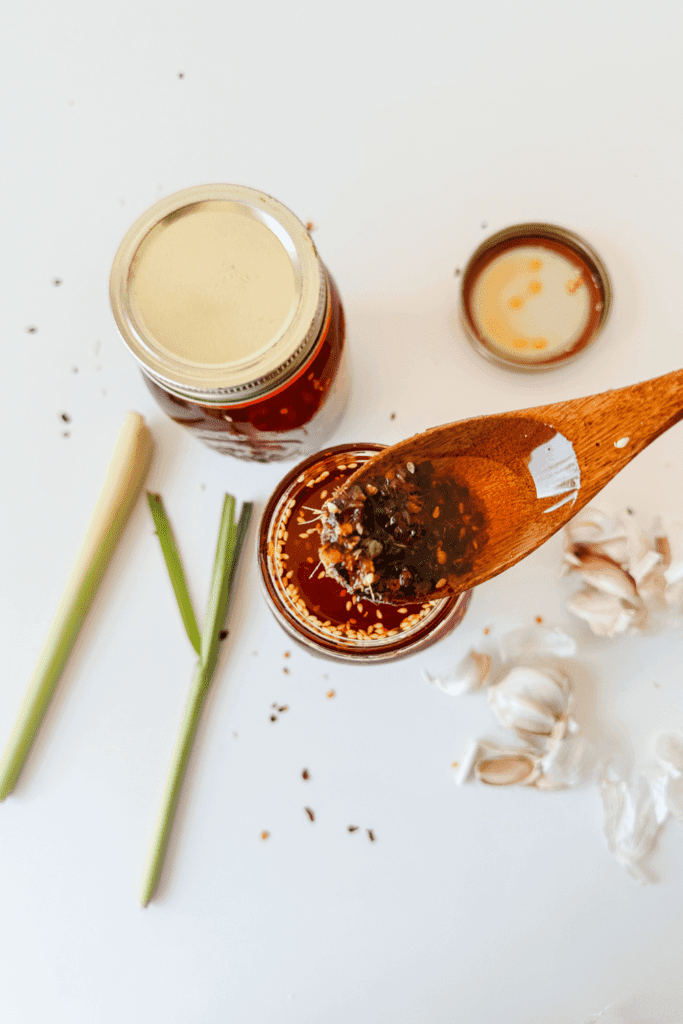
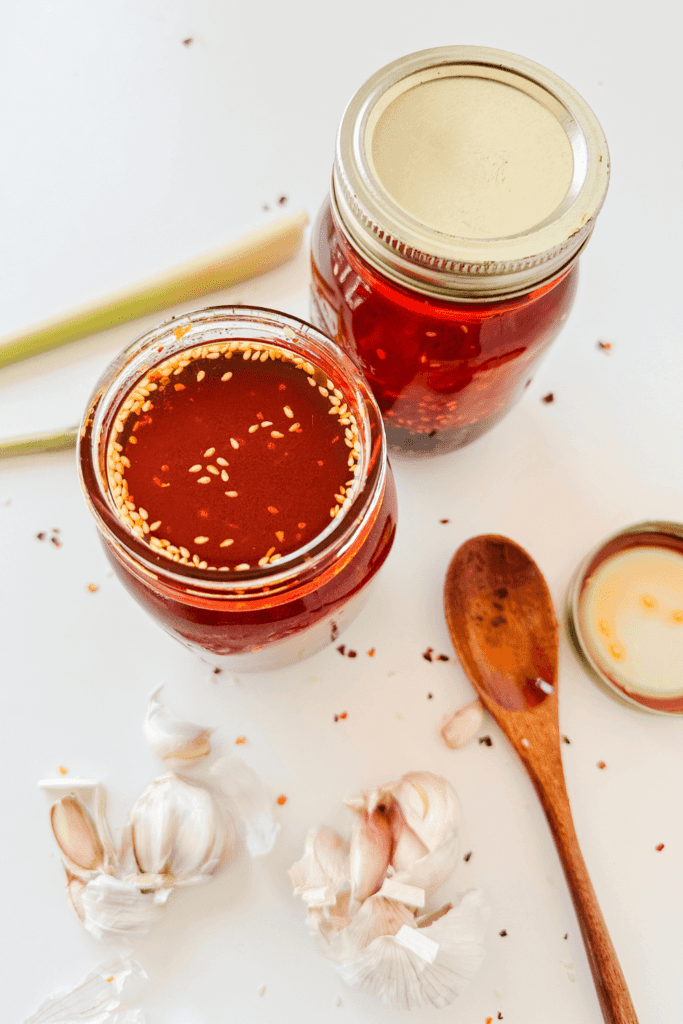
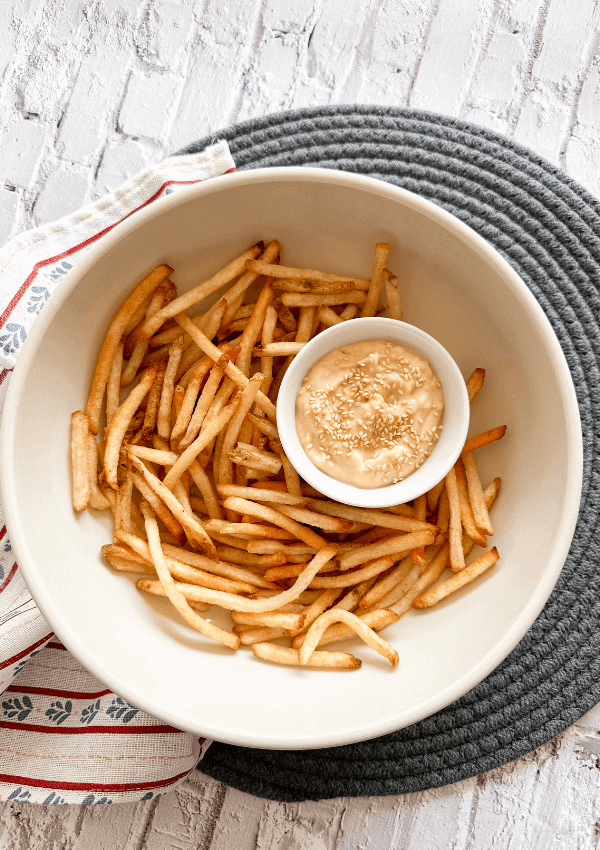
Garlic Lemongrass Chili Oil is a versatile condiment that adds depth and complexity to a wide range of dishes. This aromatic oil combines the pungent flavours of garlic, the citrusy zest of lemongrass, and the fiery kick of chili peppers, creating a blend that elevates any meal. Whether drizzled over noodles, used as a marinade for meats, or mixed into dressings and sauces, this homemade chilli oil is sure to infuse your dishes with bold and vibrant flavours.
Crafting your own Garlic Lemongrass Chili Oil allows you to customize the heat level and intensity to suit your taste preferences. Plus, making it at home ensures that you have full control over the quality and freshness of the ingredients used. With just a few simple steps, you can create a batch of this fragrant and spicy oil that will enhance the taste of your favourite Asian-inspired dishes, stir-fries, soups, and more.
Get ready to elevate your cooking game with this homemade condiment that’s bursting with flavour and aroma!
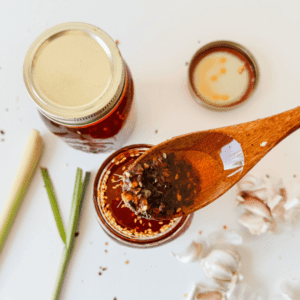
PIN Garlic Lemongrass Chili Oil FOR LATER:
This Garlic Lemongrass Chili Oil recipe is accompanied by a YouTube Tutorial. If you haven’t subscribed to me on YouTube, don’t forget to!
HERE IS HOW TO MAKE GARLIC LEMONGRASS CHILI OIL:
WHERE CAN I FIND THESE INGREDIENTS?
You can find the ingredients to make Garlic Lemongrass Chili Oil at your local grocery store or Asian market. Look for fresh lemongrass, garlic cloves, chilli flakes, chilli powder and whatever oil you’d like. I like using vegetable oil although not the healthiest option, it’s the oil I like to use to make chilli oil the most! These ingredients are often readily available in the spice or international foods aisle.
WHAT ARE THE INGREDIENTS?
The ingredients to make this garlic lemongrass chilli oil are:
- Garlic
- Lemongrass
- Chilli Flakes
- Chilli Powder
- Sesame Seeds
- Onion Powder
- Salt
- Oil
WHAT EQUIPMENT DO I NEED?
For this recipe, I like to use 1 pan and 1 pot. I use the pan to toast the seasonings on the stove for a few minutes to get the flavours out then I use a pot to heat up the oil a little bit! Once the oil is fully heated, I turn off the stove and add in the spices to just do its thing and infuse then pour it into airtight glass jars.
Here are a few Kitchen items I recommend from Amazon that would be great to use for this recipe!

CAN I SUBSTITUTE/ADD ANYTHING OUT?
So, there are TONS of chili oil recipes out there! There are so many different flavour combinations you are create so I highly encourage to add or substitute anything in this recipe to make it how you’d like it however, I enjoy how simple this recipe is!
Some other ingredients you are use to make chili oil are:
- Peppercorn/Pepper
- Cinnamon
- Fennel Seeds
- Star Anise
- Bay Leaves
- Ginger
- Cardamom
- Shallots
- Fresh Onion
- Green Onions
WHAT DOES GARLIC LEMONGRASS CHILI OIL TASTE LIKE?
Garlic Lemongrass Chili Oil offers a harmonious blend of flavors. The garlic provides a robust savory note, while the lemongrass adds a refreshing citrusy aroma. The chili peppers infuse a spicy kick, creating a well-balanced and aromatic condiment perfect for adding depth and heat to various dishes.
HOW LONG DOES IT KEEP FOR?
Garlic Lemongrass Chili Oil typically lasts for up to 2 weeks when stored in an airtight container in the refrigerator. However, its shelf life may vary depending on the freshness of ingredients and storage conditions.
To be honest, oil has great shelf life so I typically keep mine for longer than that but it honestly also depends on what my meals are! Some of the dishes I cook are based on chilli oil as a star ingredient so I go through my chilli oil a lot more but sometimes it can take me up to 4 months to finish a batch.
Of course, do a smell and taste test and if you are uncertain, it’s never worth getting sick so just dispose of the oil!
INSPIRATIONS FOR THIS RECIPE?
Just like how I started this blog post, I’ll reiterate… I LOVE SPICY FOOD! I put sriracha on my boiled eggs in the morning too haha. I eat spicy food every day but my husband does not like spicy foods at all. Instead of cooking multiple dishes every day to please both of us, I am super happy to add my spicy condiments on the side!
It is so delicious to add a soup full of chili oil to delicious soups like pho or nilaga which is a Filipino beef based soup and both are staples for my household! I love being able to also control the level of spiciness depending on my mood for the day haha.
I usually make big batches and give out mason jars to my friends and family too! Homemade chilli oil is a fantastic gift.
ANY OTHER NOTES?
Yes! So, for this recipe, I use a lot more oil than seasonings. I like using the oil for everyday use like when I want to fry up eggs so I always find that when I purchase chilli oils in-store, I run out of oil so quickly! When I make them at home, I always do more oil so I don’t run into that problem. You’re welcome to use less if you’re like or add more spices! So easy and delicious!
Garlic Lemongrass Chili Oil
Ingredients
- 8-10 Cloves Garlic minced
- 1/2 Cup Chilli Flakes
- 2-3 Tbsp Chilli Powder 2 Tbsp is good but if you want it really spicy, add another
- 3 Stalks Lemongrass put through processor or blender
- 1 Tbsp Sesame Seeds
- 2 Tbsp Salt
- 1 Tbsp Onion Powder
- 2-3 Cups Oil vegetable oil is what I use, any oil you prefer is good! Note if you want to use LESS oil, you can! I use more as I like to use the oil for everyday use like frying eggs.
Instructions
- On low-medium heat, add in all your ingredients aside from oil to a frying pan and let the ingredients toast and get it's aroma out! Keep stirring so nothing burns.
- After a few minutes, place a small sauce pot with your oil to heat up. Ideally, your oil should NOT be the temperature you'd fry foods in. A good spot to hit if you're being specific is about 225-250F or 110-120C. I usually just let it heat up for a few minutes!
- Once your oil is hot, turn off the stove and pour all your seasonings into the oil. Let infuse for an hour or two.
- Once the oil has cooled down, it is ready to store or use! Enjoy!
Enhance your culinary creations with the bold flavours of homemade Garlic Lemongrass Chili Oil. Elevate your dishes to new heights and impress your taste buds with this aromatic condiment. Try it today and experience a burst of deliciousness in every bite!
Xo,
Lynn
Are you adding this Garlic Lemongrass Chili Oil recipe to your list?! Don’t forget to tag me if you do!

This blog post is all the details on Garlic Lemongrass Chili Oil.
P.S: If you haven’t read my most recent post, click here!
PIN Garlic Lemongrass Chili Oil FOR LATER:
If you liked reading Garlic Lemongrass Chili Oil, you might like these are well!
Baked Soy Garlic Chicken Wings
4 Ingredient Easy Vermicelli Chili Oil Noodles
This is the end of Garlic Lemongrass Chili Oil.


This is exactly the kind of stuff I like, so flavourful and easy to add to all sorts of recipes, foods and dishes. I am going to make this!