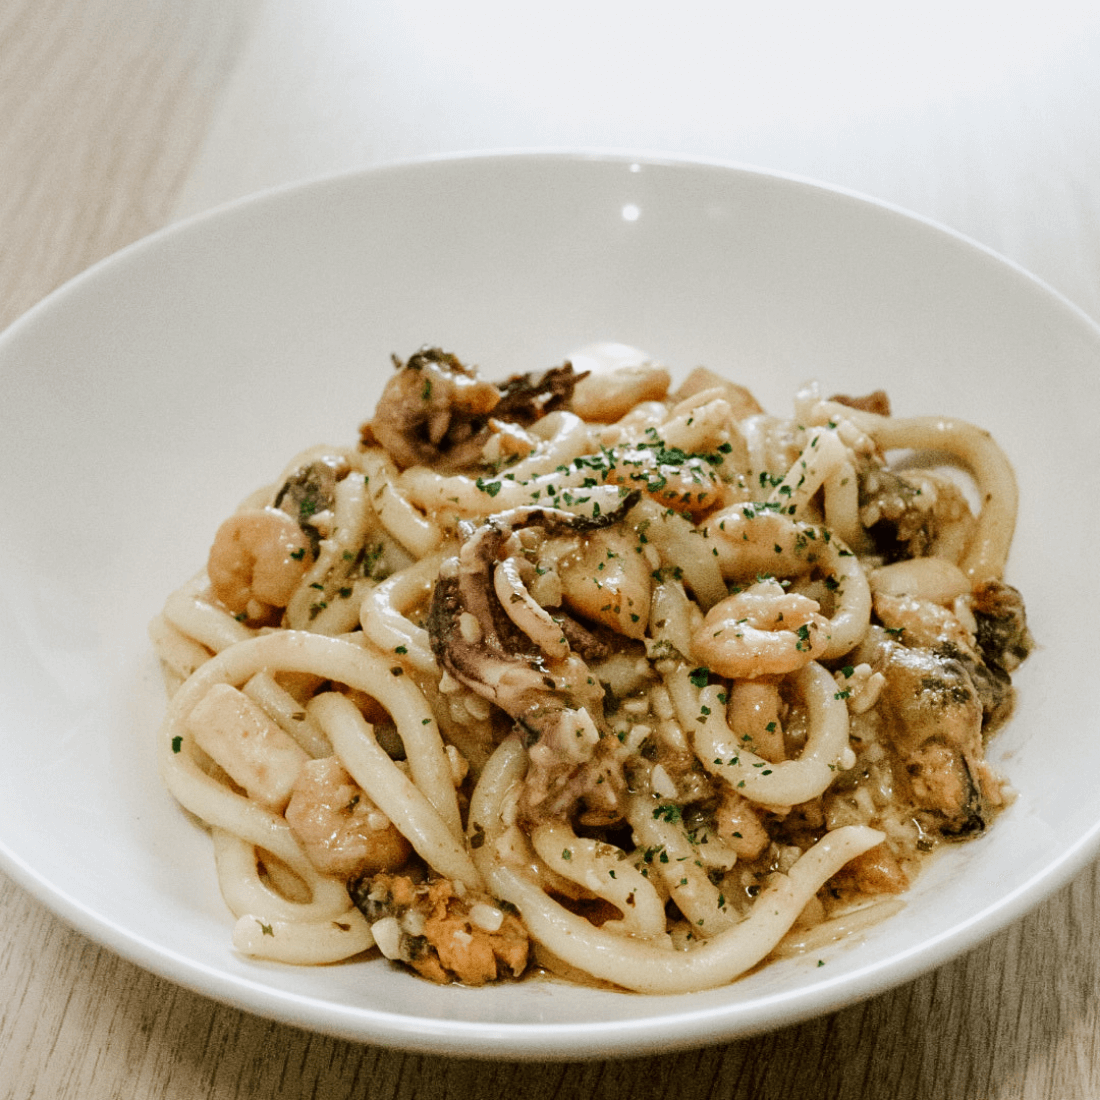
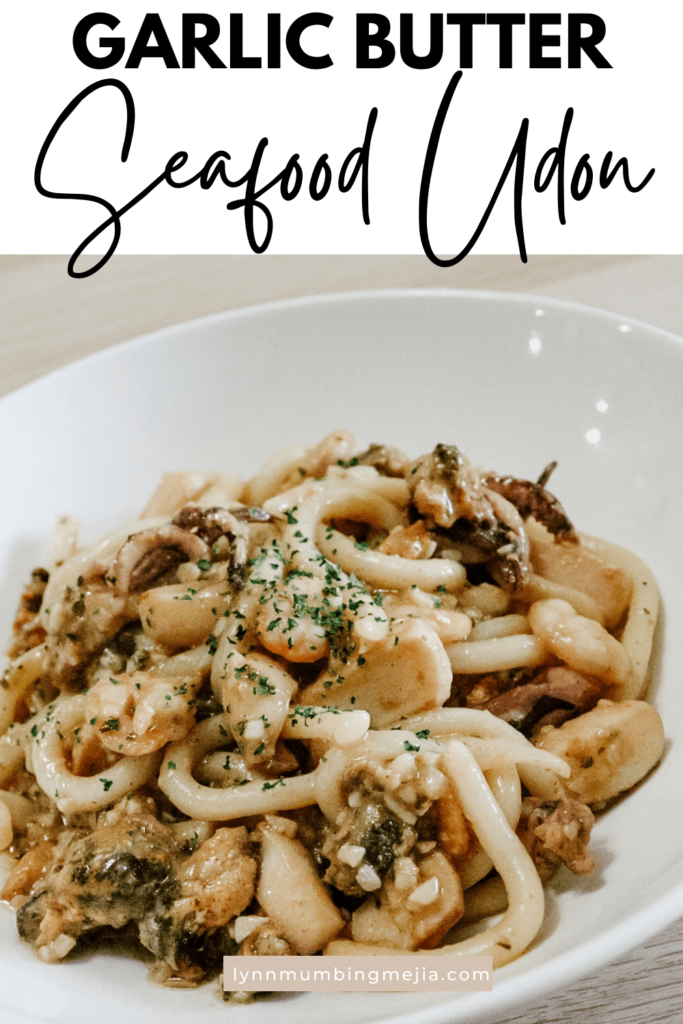
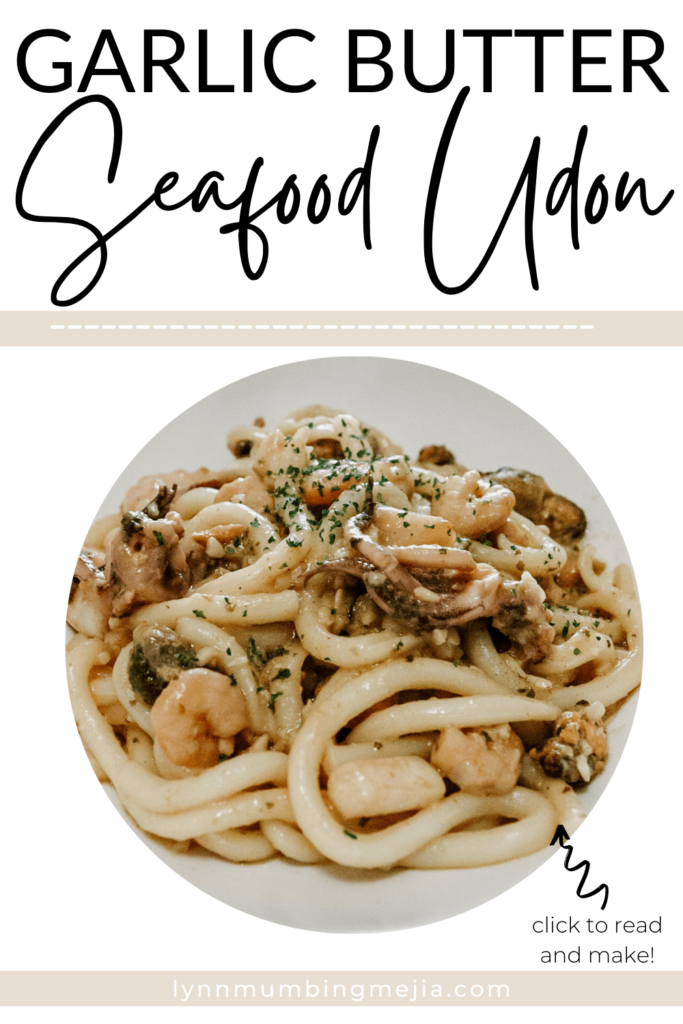
Garlic Butter Seafood Udon
Read more for all the details on Garlic Butter Seafood Udon.
Have you ever been to an all-you-can-eat sushi/Japanese restaurant and saw garlic butter udon on the menu? Despite everyone saying that you should try and not fill up on carbs at a buffet/all-you-can-eat, I can never resist a yummy udon dish!
PIN Garlic Butter Seafood Udon FOR LATER:
This Garlic Butter Seafood Udon recipe has a tutorial that’s posted on TikTok. If you haven’t subscribed to my account yet, don’t forget to!
HERE IS HOW TO MAKE GARLIC BUTTER SEAFOOD UDON:
WHERE CAN I FIND THESE INGREDIENTS?
I want to say the ingredients to make this super yummy Garlic Butter Seafood Udon can be found anywhere but where I live in Canada, there’s a big Asian population so our regular grocery stores have a lot of Asian products! In this dish, I believe most of the ingredients can be found in your local grocery stores like garlic, butter, mixed frozen seafood, and parsley flakes. The only few things that may be hard to find would be the udon noodles, soy sauce and sesame oil but these are staples in any grocery store!
WHAT ARE THE INGREDIENTS?
The ingredients to make this super delicious and easy Garlic Butter Seafood Udon are:
- Udon Noodles
- Frozen Mixed Seafood
- Soy Sauce
- Sesame Oil
- Salted Butter
- Garlic
- Dried Parsley Flakes
WHAT IS THE TIME BREAKDOWN TO MAKE THIS GARLIC BUTTER SEAFOOD UDON RECIPE?
The time breakdown for this Garlic Butter Seafood Udon are:
To Prepare – and measure all the ingredients
Time: 2 Minutes
To Cook – and boil the udon noodles and seafood + make the butter garlic sauce
Time: 13 Minutes
Total time: 15 Minutes
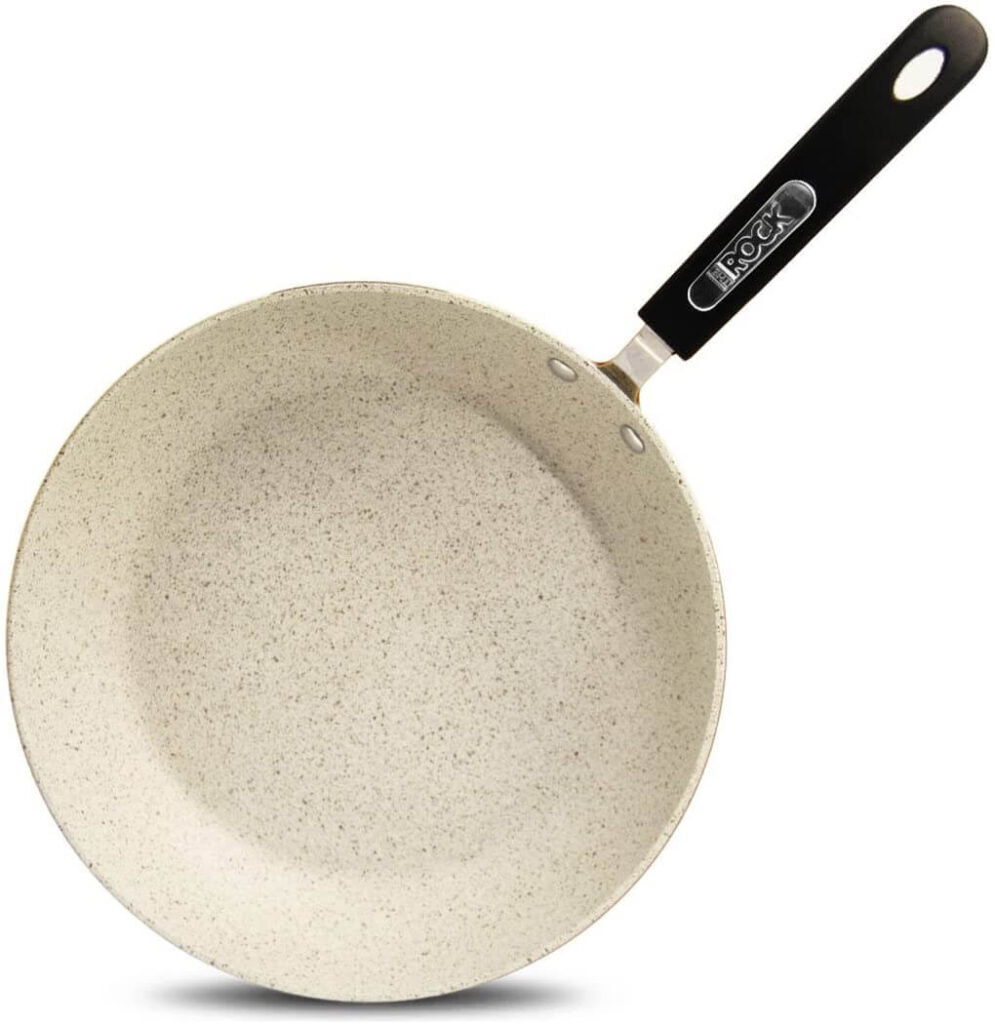
WHAT EQUIPMENT DO I NEED?
You don’t need too much equipment for this. You can use a small sauce pot or a frying pan. I’ve used both! Then you’ll just need whatever kitchen utensils you normally use! I usually measure by eye but it doesn’t hurt to use actual measuring cups!

CAN I SUB/ADD ANYTHING OUT?
As always, of course, you can substitute or add anything to my recipes! I think the sauce is really really yummy and buttery so I would keep that but you’re welcome to swap the seafood for whatever protein you like and the noodles for whatever noodles you’d like as well!
WHAT DOES IT TASTE LIKE?
The garlic butter seafood udon is really buttery, garlicky and the soy sauce gives it an umami flavour! I really like seafood in this but the noodles and sauce alone would be so good to have a side dish!
HOW LONG DOES IT KEEP FOR?
As with any seafood, I would not recommend letting it sit long in the fridge. Not sure if it’s just me but I feel like the long seafood is kept, the more it smells. I would keep it for a max of 2 days in a cold fridge stored in an airtight container.
Luckily for udon noodles, they usually come portioned like instant ramen so you can make it fresh whenever you want!
INSPIRATIONS FOR THIS DISH?
My inspiration for this garlic butter seafood udon really stems from enjoying it at a restaurant. My husband and I try to save money and not get take out/eat out that often although we enjoy all the foods! I wanted to be able to recreate this recipe without using having to go into the restaurant if not needed and it’s awesome! I’m really happy with how it turned out!
ANY OTHER NOTES?
No additional notes with this one on the cooking side BUT if you’ve never said udon noodles before, it is quite slippery so it will wiggle like a worm when you try and pick it up with chopsticks! Haha!
Garlic Butter Seafood Udon
Ingredients
- 1 Package Udon Noodles
- 1/4 Stick Salted Butter
- 2 Tbsp Minced Garlic heaping tablespoons
- 1 Tsp Sesame Oil
- 1 Tbsp Soy Sauce
- 1/2 Cup Mixed Frozen Seafood
- Parsley Flakes to taste
Instructions
- In a saucepot, heat your stove to medium-high heat, add some water and let your udon boil and separate.
- Once the udon noodles are cooked, strain them, rinse them with cold water and put them aside.
- Place your empty pot back on the burner and add in your butter, garlic, sesame oil, and soy sauce.
- Now that your sauce has come together add in your seafood and parsley flakes and let it cook for a few minutes. Don't overcook as seafood gets gummy!
- Lastly, put your udon noodles back in and coat the noodles in the sauce.
- Serve and enjoy!
I hope you enjoyed reading this recipe on how to make Garlic Butter Seafood Udon! It’s such a yummy and decadent recipe and I love that I can make it at home now and no longer can only have it in a restaurant!
Xo,
Lynn
Are you adding this Garlic Butter Seafood Udon recipe to your list?! Don’t forget to tag me if you do!

This blog post is all the details on Garlic Butter Seafood Udon.
P.S: If you haven’t read my most recent post, click here!
PIN Garlic Butter Seafood Udon FOR LATER:
If you liked reading Garlic Butter Seafood Udon, you might like these are well!
Mulan’s Breakfast Rice Porridge
Vietnamese Spring Rolls with Peanut Sauce
This is the end of Garlic Butter Seafood Udon.

Wow! This looks so yum!
xoxo
Lovely
http://www.mynameislovely.com
For sure I will like to try this dish and it looks so tasty and good
https://www.melodyjacob.com/2022/01/mint-chip-mania-cooling-soothing-face-mask-review.html
This looks so delicious and easy to make! I’ve never had udon but I’ll have to try it out.
Thanks for sharing the recipe!
This looks delicious! Bookmarking to try over the weekend 😀 x
mia //