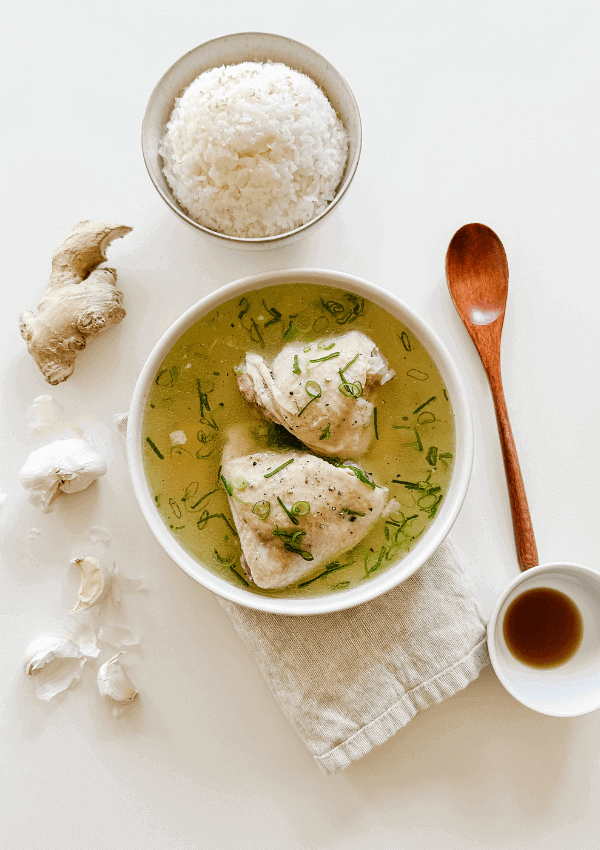
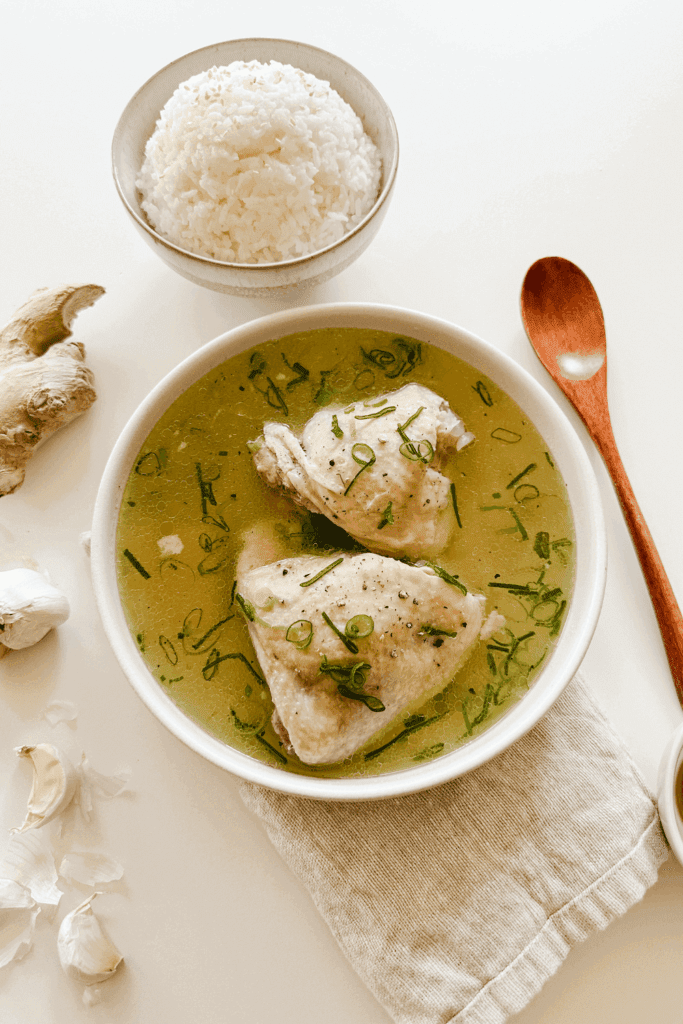
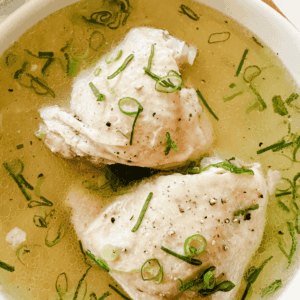
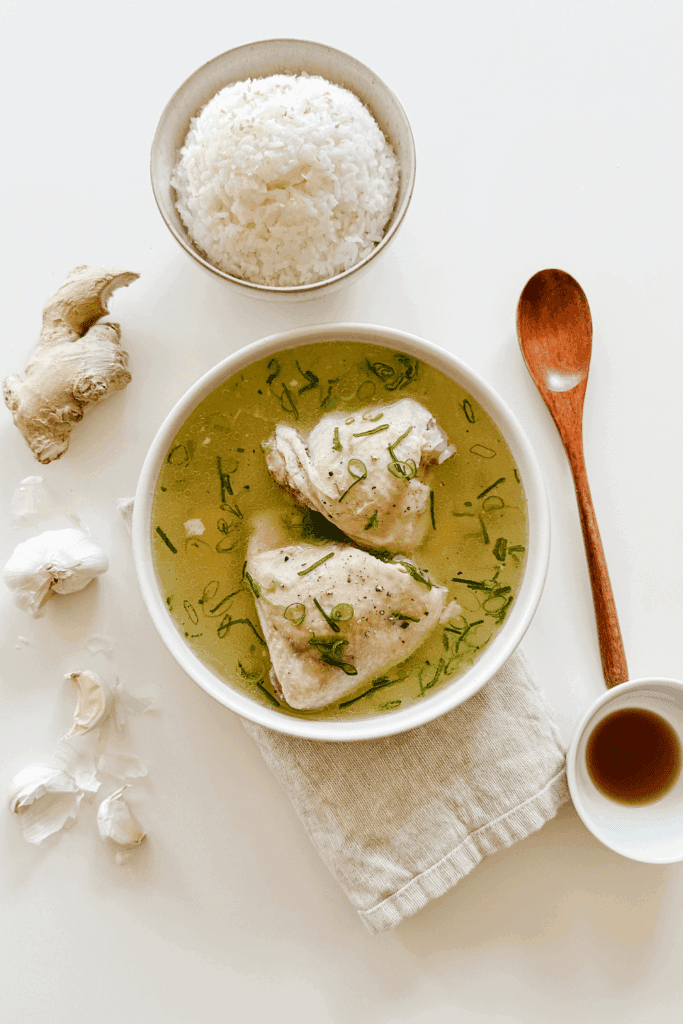
Instant Pot Chicken Tinola
Read more for all the details on Instant Pot Chicken Tinola.
When I first moved out with my husband, it was the first time I really had to start learning to cook Filipino recipes. My mom is an amazing cook and living outside of her home really kick-started my cooking journey. I had to learn how to cook all of my Filipino dishes on my own and chicken tinola and chicken adobo were the first two dishes that I learned to master!
PIN Instant Pot Chicken Tinola FOR LATER:
This Instant Pot Chicken Tinola recipe is accompanied by a YouTube Tutorial. If you haven’t subscribed to me on YouTube, don’t forget to!
HERE IS HOW TO MAKE INSTANT POT CHICKEN TINOLA:
WHERE CAN I FIND THESE INGREDIENTS?
This Filipino dish is super easy to make and luckily doesn’t use any specialty ingredients. The only ingredient that may be hard to find would be fish sauce; other than that, all the other ingredients are quite easy to find! You’ll need some produce like ginger, garlic, onions and green onions, meat like chicken thighs, and a few items that you may already have in your pantry or will just need to pick up from the pantry aisles like chicken bouillon, pepper, salt and sugar.
WHAT ARE THE INGREDIENTS?
The ingredients that make this delicious chicken tinola are:
- Chicken Thighs
- Ginger
- Garlic
- Onion
- Green Onions
- Chicken Bouillon
- Fish Sauce
- Pepper
- Salt
- Sugar
- Water
WHAT EQUIPMENT DO I NEED?
For this recipe specifically, you will need an Instant Pot however, you can make this on the stove easily! I like using the Instant Pot because I don’t need to worry about it as much. When the stove is on of course, I have to be constantly checking on it or I may burn the house down haha I have been loving my Instant Pot since I got it years ago and my meat is always tender! It’s just stress-free in my opinion haha
Aside from this, you’ll also need a cutting board and knifes to chop up the onion, ginger, garlic and green onions, measuring cups and spoons for the seasonings and liquid ingredients and of course, a soup ladle to scoop the finished goodness!
Here are a few of my favorite kitchen items from Amazon! I have an old Instant Pot so I don’t think it’s selling anymore but this is the closest one to what I have!

CAN I SUBSTITUTE/ADD ANYTHING OUT?
You can of course, make this recipe your own! I am a huge advocate for using any ingredients that are accessible to you! They may affect cooking time or the overall end product of the dish, but cooking is of course, all about testing what works for you!
Here are a few ways to change up this recipe to make it your own!
- Use chicken breasts, chicken wings or drumsticks instead of chicken thighs
- If you don’t have access to fresh ginger, onions, or garlic, use powdered instead
- Substitute the protein if needed! The broth is still very light and yummy
- Add in some veggies! I like adding kale or broccoli if I have any
WHAT DOES INSTANT POT CHICKEN TINOLA TASTE LIKE?
If I had to describe it from feeling, chicken tinola truly tastes like a hug in a bowl! It tastes like comfort, like it would cure colds! Chicken tinola truly hits the spot but in terms of flavour, it’s a very light and savory soup with a gingery kick! The broth is nice and warm and the ginger, onion and garlic combination hits your throat nicely. The fish sauce gives it a good umami taste! The chicken is tender, and the soup as a whole is nourishing and wholesome!
HOW LONG DOES IT KEEP FOR?
This soup keeps very well up to 5 days in an airtight container in the fridge, and honestly, I believe it’s one of those dishes that just get better with time! The more the chicken sits in the broth, the more flavourful it gets. I especially love it on the second or third day. You can also freeze this in an airtight container for up to 1 month, and the texture and taste remain the same!
INSPIRATIONS FOR THIS RECIPE?
This and chicken adobo were the first two Filipino dishes that I learned how to cook on my own! I’ve been living with my husband for 6 years now and have been making this basically every month! It is our favourite Filipino dish to make at home, and it never fails!
ANY OTHER NOTES?
Traditionally, this recipe would include green papaya and malunggay leaves, but I don’t always have access to this so I just put any veggies that I have available! A go-to of mine is always frozen kale 🙂
Instant Pot Chicken Tinola
Ingredients
- 6 Chicken Thighs
- 1 Thumb Ginger sliced
- 1/4 Sweet Onion chopped
- 4 Cloves Garlic crushed
- 2 Tbsp Knorr Chicken Bouillon
- 1 tsp Sugar
- 1 Tbsp Fish Sauce
- 8 Cups Water
- 1/2 tsp Pepper
- 2 Stalks Green Onions thinly sliced
- Salt to taste
Instructions
- To your Instant Pot, add in your ginger, sweet onion, garlic, chicken bouillon, sugar, fish sauce and water. Stir everything together.
- Next, add in your chicken thighs and close the seal. Ensure that the pressurized cap is sealed.
- Set your Instant Pot to Meat for 45 minutes and let cook.
- Once the timer beeps, release the pressure by turning pressurized seal to release or open and let all the steam out for a few minutes.
- When safe and no more steam is coming out, open the lid and add in your pepper and green onions. Add in salt to taste but is optional if it is salty enough for your taste buds.
- Serve on a warm bed of white rice and enjoy!
Thank you so much for reading to the end of this recipe! I hope you love chicken tinola as much as I do!
Xo,
Lynn
Are you going to try making this Instant Pot Chicken Tinola recipe?! Don’t forget to tag me if you do!

This blog post is all the details on Instant Pot Chicken Tinola.
P.S: If you haven’t read my most recent post, click here!
PIN Instant Pot Chicken Tinola FOR LATER:
If you liked reading Instant Pot Chicken Tinola, you might like these as well!
Filipino Adobo-Inspired Soy Marinated Eggs
This is the end of Instant Pot Chicken Tinola.


One Comment
Comments are closed.