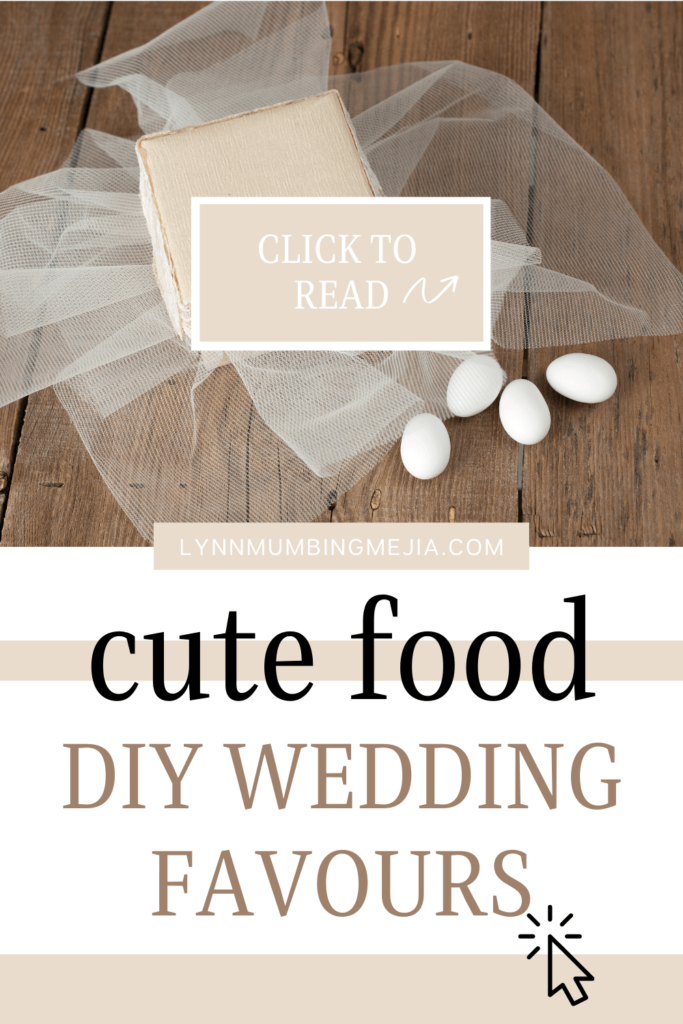
Cute DIY Wedding Favors
Read more for all the details on Cute DIY Wedding Favors.
My wedding back in 2019 was one of the best nights of my life and it wouldn’t be truly me if I didn’t try to DIY as much as I could!
If you know me, you’d know how crazy obsessed I am with creating. I love bringing my visions to life and I work hard to get them as close to I can with a small budget. Wedding favours were something I wanted to do but I really didn’t like the fact that it would one day just be a dust collector.
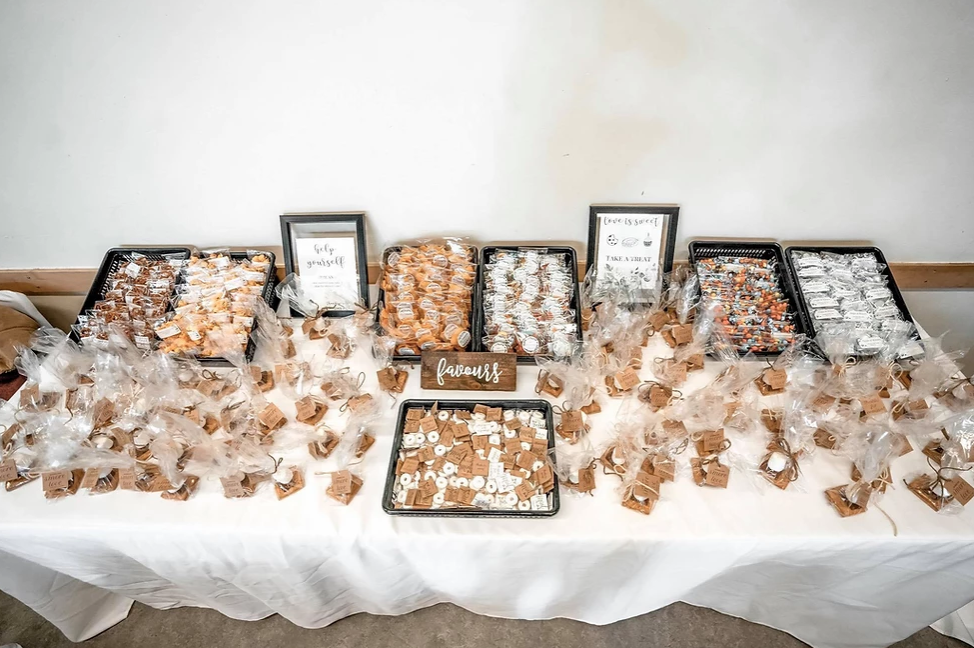
I gathered my inspiration from Pinterest and realized that food was a great way to say thank you to my guests with these Cute DIY Wedding Favors! I spent a majority of my wedding planning and bridesmaid meetings to coordinate these favours and what I basically did was googled all of the cutest food wedding puns I could find, designed them and turned them into cute favours that you could have a late-night snack, eat on the drive home or even keep them as we all know that junk food doesn’t really expire!
PIN Cute DIY Wedding Favors FOR LATER:
Here are my Cute DIY Wedding Favors:
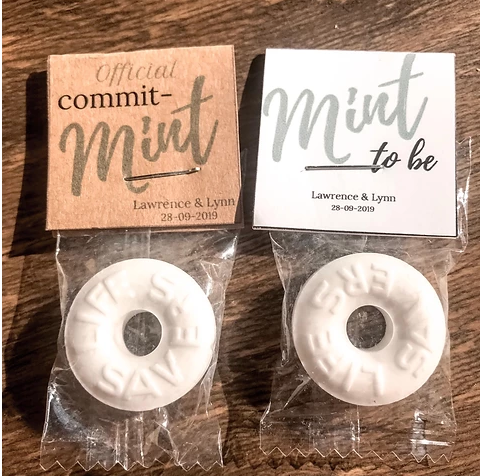
“Mint to Be” Mints
How I did it: Bought pounds of lifesaver mints and printed my designs on cardstock. Cut them out and stapled them to each individual package of mint!
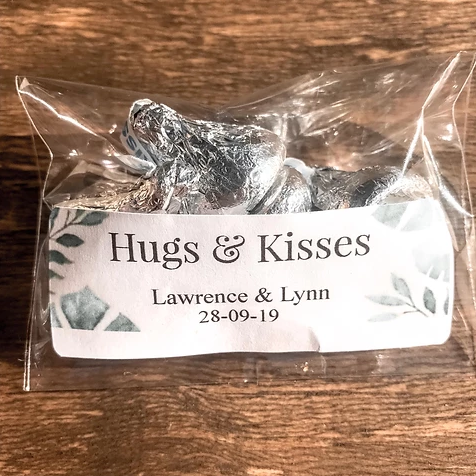
“Hugs and Kisses” Kisses
How I did it: Bought Kisses in bulk, stuff each little baggie with about 4-6 kisses. I designed my label and bought label stickers from Staples and print them on my home printer!
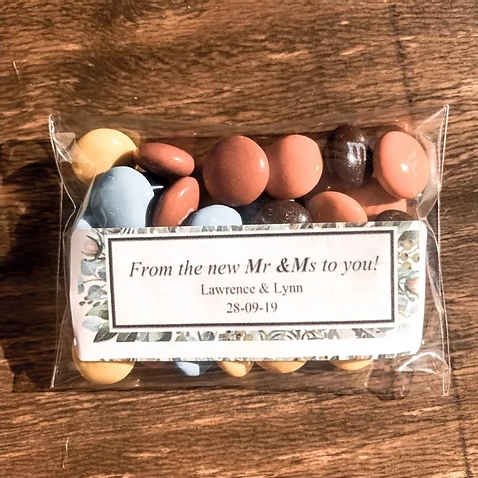
“From the new Mr. & Mrs” M&M’s
How I did it: *same process as Kisses, except I used an ice cream scoop to measure out the M&M’s*
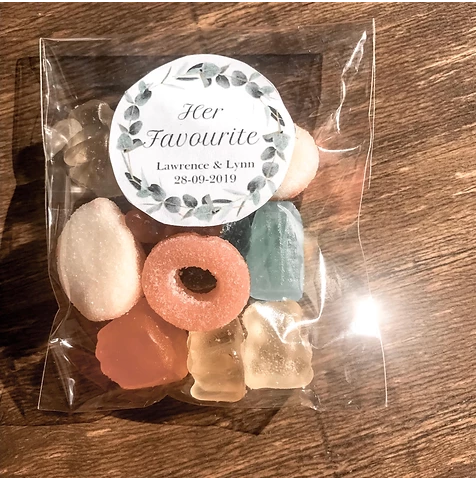
“Her Favourites” – assorted candy
How I did it: Bought about 6+ different kinds of candy in bulk (peach rings, gummy bears, coca-cola bottles, jube jubes, strawberry marshmallows, Swedish berries etc) stuffed about 10-12 pieces in each bag. Designed a logo and bought sticker paper to print at home!
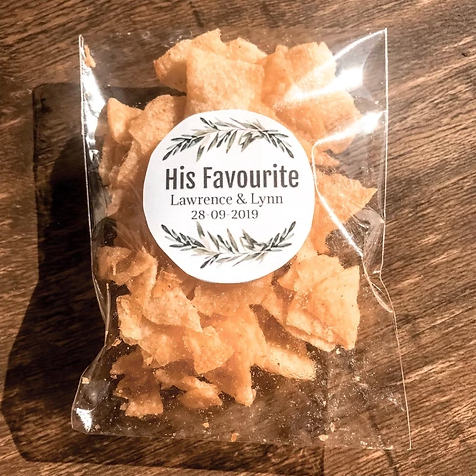
“His Favourites” – Miss Vickie’s Sweet Chili Chips
How I did it: Lawrence’s favourite snack is Ms. VIckie’s Sweet Chili Chips! I bought party size bags and unfortunately, I did not buy a bigger resealable plastic baggie so they’re a little bit crushed but still good. Designed a logo and bought sticker paper to print at home!
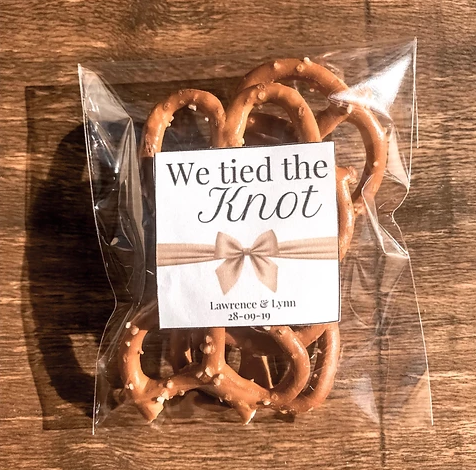
“Tie the Knot” Mini Pretzels
How I did it: Bought bulk mini pretzels and stuffed bags with about 4-6 pieces. Designed a logo and bought sticker paper to print at home!
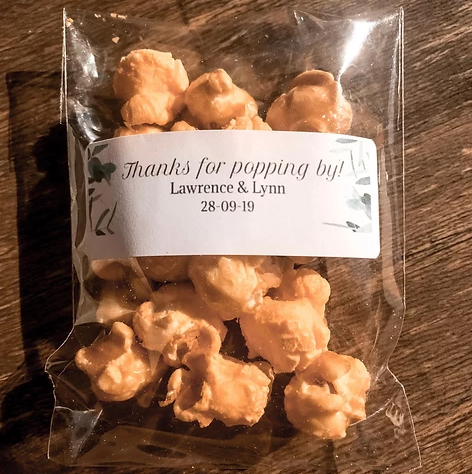
“Thanks for Popping By” Caramel Popcorn
How I did it: Bought bulk caramel and cheddar popcorn and stuffed bags with about an ice cream scoop and a half. Designed a logo and bought sticker paper to print at home!
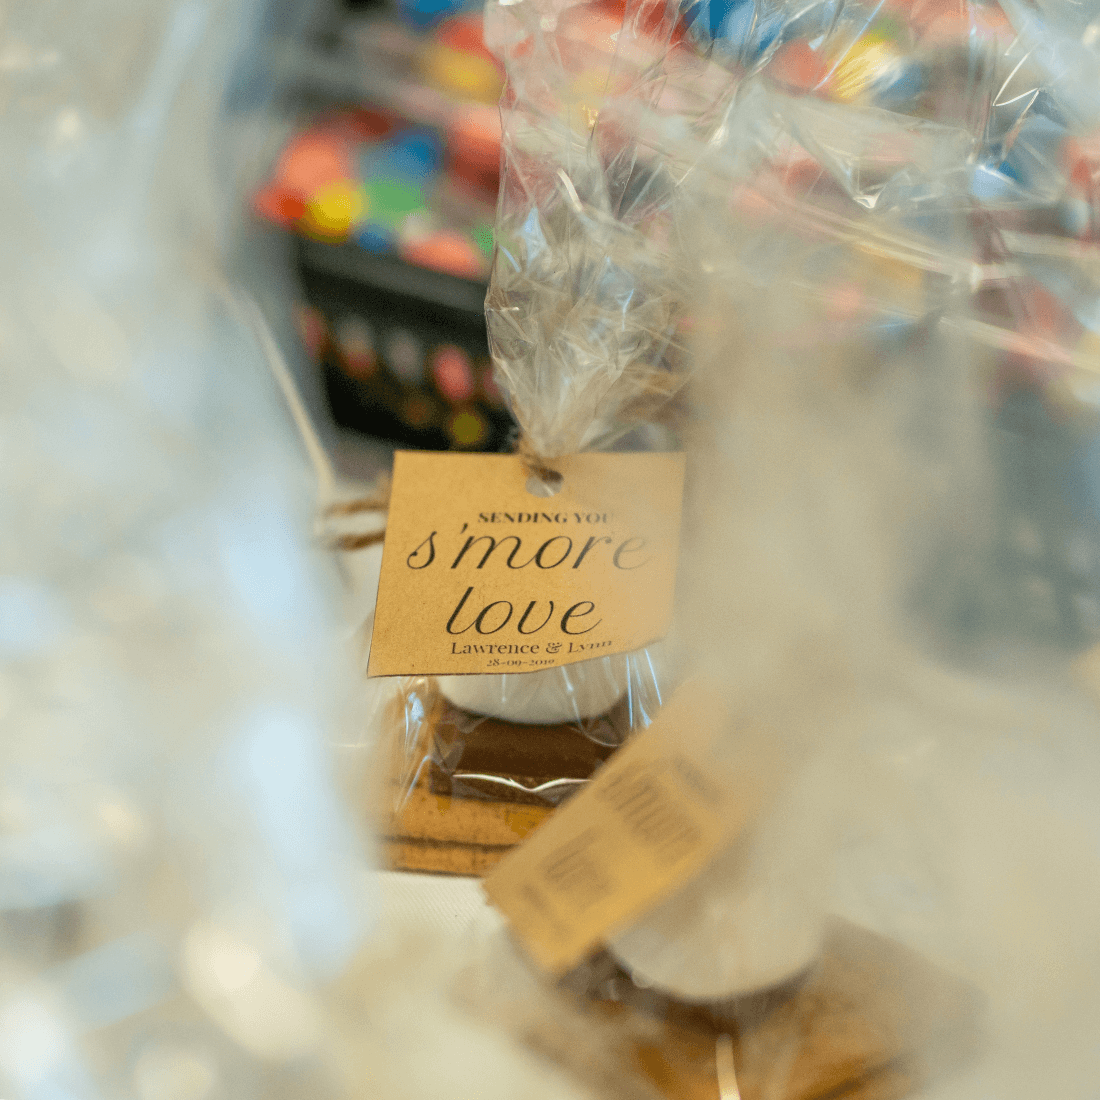
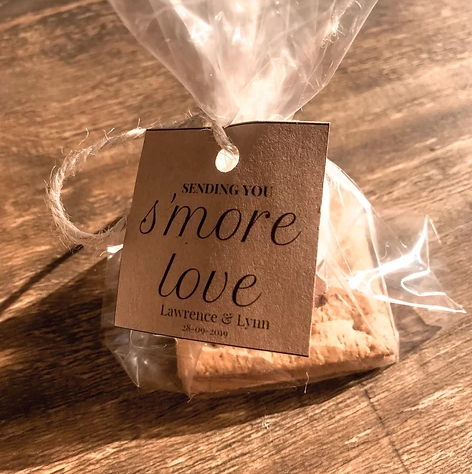
“S’ more Love” S’ more Kits
How I did it: Bought marshmallows, chocolate bars and graham crackers. Got cookie bags set up the smores as 2 graham cracker squares, 1 piece of chocolate and a marshmallow. Then we tied twill around each one tightly. Designed a logo and printed it out on craft paper. Hole punched and tied to each one.
Note: Favours #5-8 were done no more than 5 days before the wedding and should be sealed right away so they do not get stale. We worked super fast to do this!
I ended up having so many leftovers but I did see a lot of kids enjoy it and many people taking it home! Here is a link to some of the things I bought:
Resealable bags
Cookie bags
Craft and Cardstock Paper
Twine
Sticker Paper and Labels
Which one is your favourite Cute DIY Wedding Favors?
Xo,
Lynn
This blog post is all about Cute DIY Wedding Favors.
P.S: If you haven’t read my most recent post, click here!
PIN Cute DIY Wedding Favors FOR LATER: