Halloween Painted Candles
Read more for all the details on how to make Halloween Painted Candles.
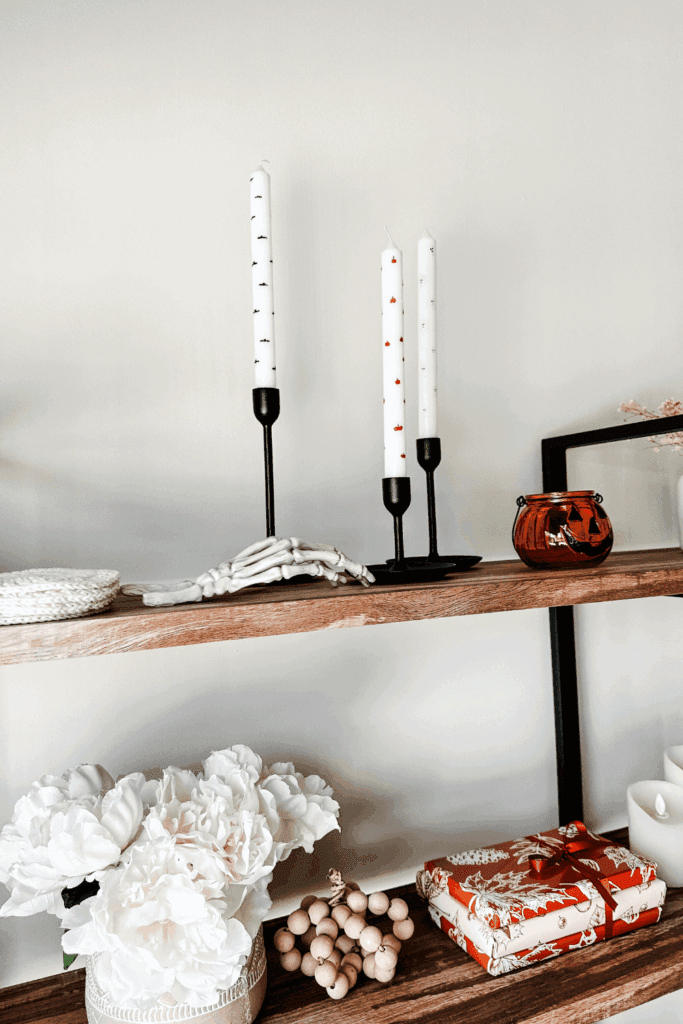
I have been loving painted candles as décor! I think they look so cute and homemade and just the perfect addition to your shelf decor! They are fairly cheap and so easy to spruce up your decor for any holiday or season.
PIN Halloween Painted Candles FOR LATER:
This Halloween Painted Candles is accompanied by a YouTube Tutorial. If you haven’t subscribed to me on YouTube, don’t forget to!
HERE IS HOW TO MAKE HALLOWEEN PAINTED CANDLES:
WHERE CAN YOU FIND THE MATERIALS TO MAKE THESE DIY HALLOWEEN PAINTED CANDLES?
I found my candles at Michaels. They were about $3 per candlestick, and I bought 3! I already had an acrylic paint set from Amazo,n and I also bought new micro paint brushes from Amazon. I’m going to do painted candles for years to come! They are so pretty and would make excellent gifts.
All in all, this whole DIY if buying from scratch costs me about $50, but if you already have paint and brushes, you can just buy candles from the dollar store for super cheap or even everything at the dollar store for super cheap! I did not have luck with buying micro paint brushes from the dollar store, so I had to buy them online.
WHAT ARE THE MATERIALS/EQUIPMENT NEEDED FOR THESE DIY HALLOWEEN PAINTED CANDLES?
Here are some of the products that I love and use to make these DIY spooky candles:

CAN I SUBSTITUTE ANY MATERIALS OUT?
Honestly, there isn’t that much to substitute out, as this only uses 3 things! What you can do is swap the white candles for colored candles, like black, and paint on them! You can also use any paint that you prefer if it works! I had acrylic paint at home and didn’t want to purchase more paint just for 1 project. Another thing you can do is perhaps use paint markers instead! I’ve seen lots of people starting to incorporate more paint markers into their crafts.
DOES THIS DIY LAST TO USE FOR THE FOLLOWING YEARS?
It absolutely does! I think the only thing to worry about is that dust on the candle can accumulate, so you have to be gentle with cleaning it off. If you use water or any cleaning liquids, the paint may come off. Gently clean with a dry fluffy brush, then store in a box to avoid them breaking!
HOW LONG DOES IT TAKE TO PUT TOGETHER?
This took me a total of about 1 hour, including mixing my paints to create the colours I wanted. The painting itself didn’t take too long, as the Halloween icons are so dainty and small! I did want to take my time, though and not rush to avoid smudging. Depending on how fast you are, craft completion time may vary.
INSPIRATIONS FOR THIS DIY?
During the spring and summer, I see so many floral, dainty painted candles, and I wanted to try making cute little Halloween ones! I always love changing up my shelf decor and knew this would be the perfect, easy project to try!
STEPS TO MAKE THESE DIY HALLOWEEN PAINTED CANDLES:
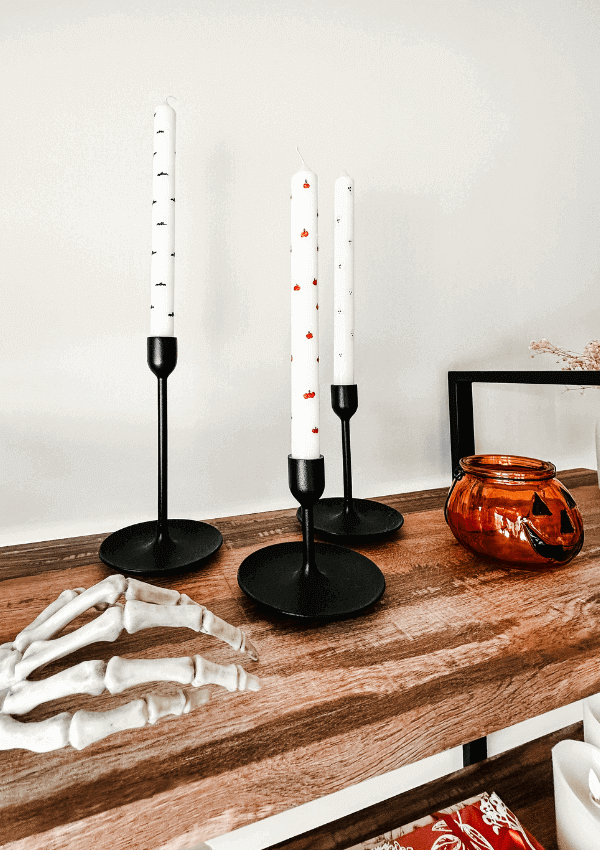
Step 1: Pick the spooky Halloween icons you’d like to paint and set up your paint.
For this DIY, I chose to paint some little ghosts, bats and pumpkins. You can choose any you’d like! You can do black cats, a purple witch’s hat, green Frankenstein, light grey skulls, grey gravestones or whatever fits your home decor.
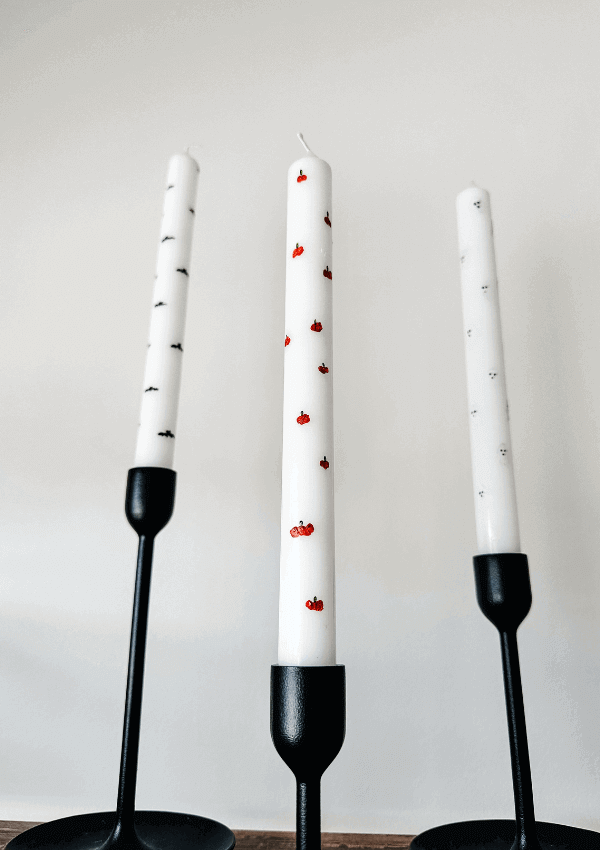
Step 2: Use your micro paint brushes and paint your little Halloween icons all over the candles.
Paint your chosen icons all around your candles. You do need a slightly steady hand as these are super dainty designs, but I just gently angled the candle towards my table and twisted it as I painted around.
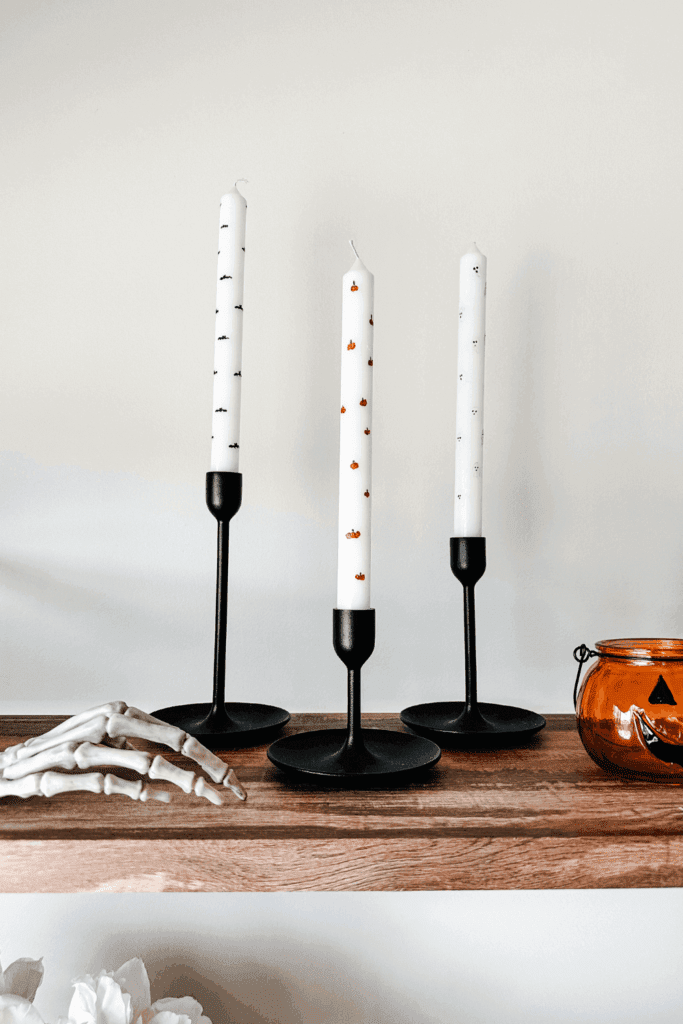
Step 3: Place on your candlestick holders to dry and display in the location of your choosing!
I do not recommend lighting these at all because I don’t know if acrylic paint is okay to burn. I just use them as decor but if you are insistent on burning these candles, ensure that you are using paint that it safe to burn.
Thank you so much for following this blog post on how to make Halloween Painted Candles!
Xo,
Lynn
Are you going to try making these Halloween Painted Candles?! Don’t forget to tag me if you do!

This blog post is all the details on Halloween Painted Candles.
P.S: If you haven’t read my most recent post, click here!
PIN DIY Halloween Painted Candles FOR LATER:
If you liked reading Halloween Painted Candles, you might like these are well!
Fall Thanksgiving Pie Paper Garland
Coffee Filter Ghosts Halloween Craft
This is the end of Halloween Painted Candles.