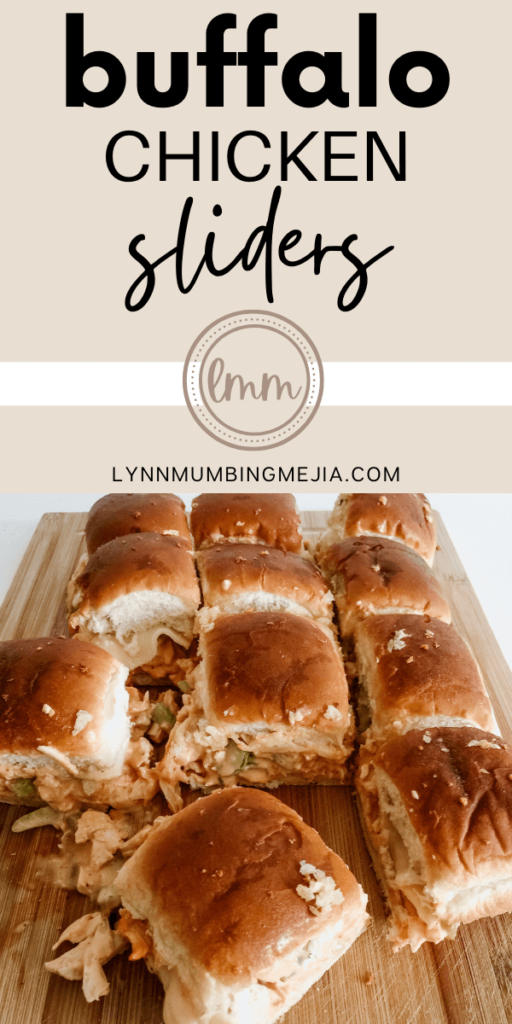
Simple Buffalo Chicken Sliders
Read more for all the details on Buffalo Chicken Sliders.
You’re most likely reading this post because you’re looking for a recipe with a little heat!
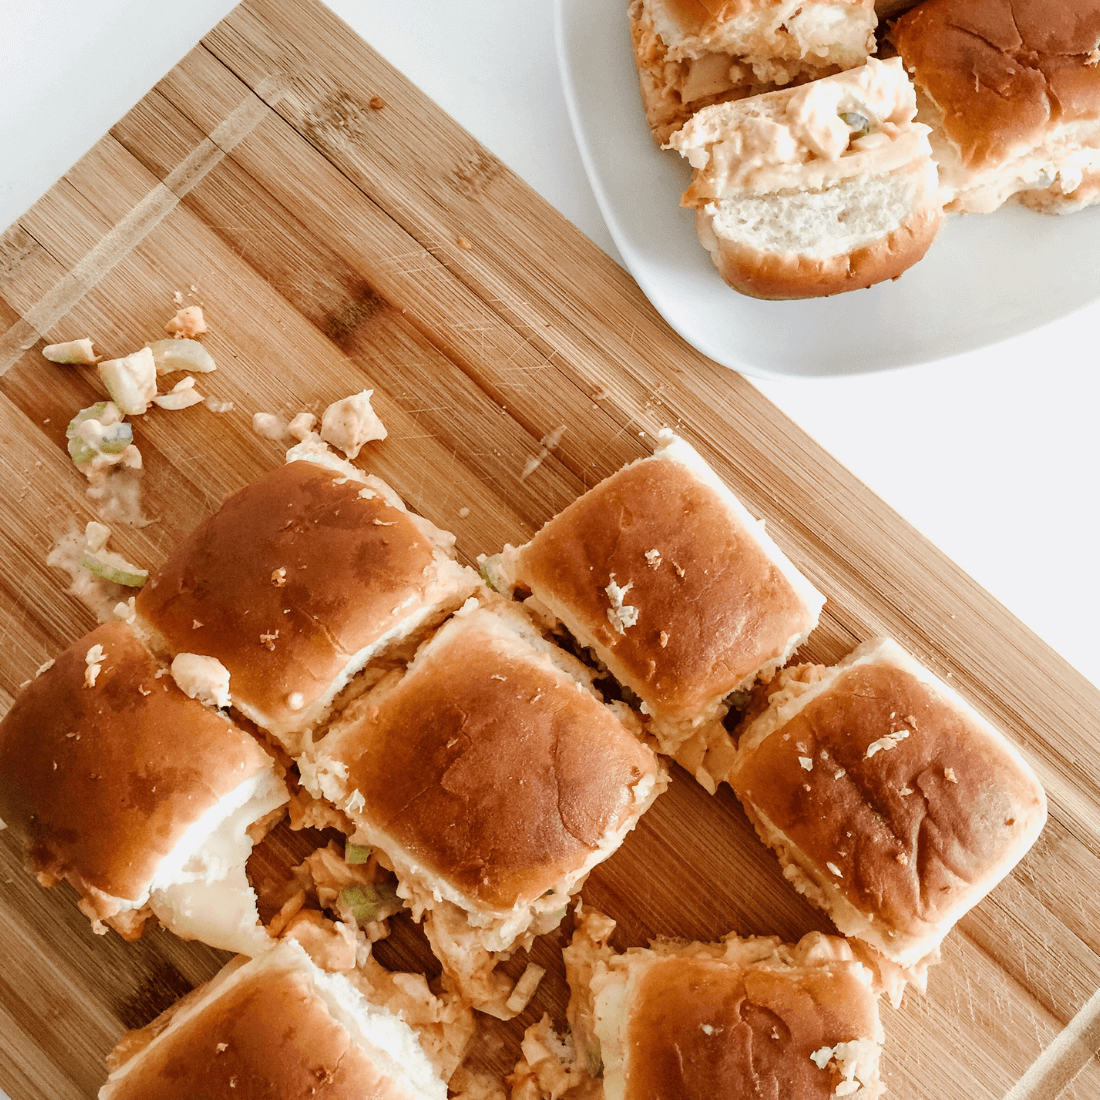
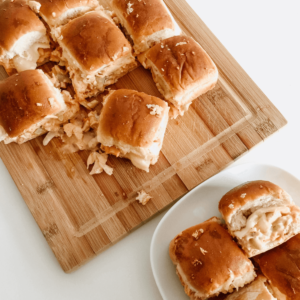
You’ve come to the right place! These Buffalo Chicken Sliders are perfect to bring to a picnic, party or even just to have as a snack or lunch at home! The buffalo and ranch sauce as well as the melty cheese and garlic butter top make this a delicious new recipe to add to your roster!
Do you like spicy foods? What your fav spicy food?
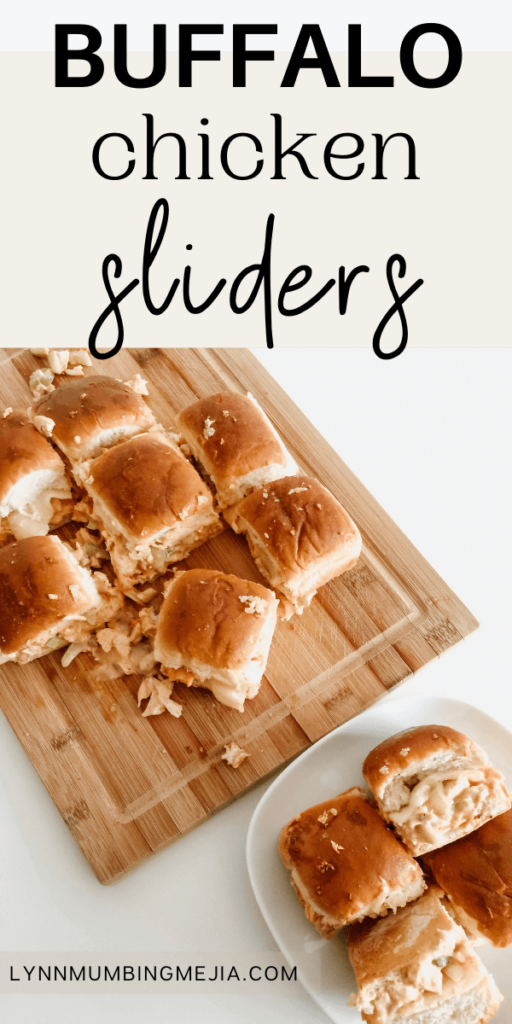
PIN Buffalo Chicken Sliders FOR LATER:
Buffalo sauce is one of my go-to’s aside from chilli oil. I love being to put buffalo sauce on my breakfast, lunch, snacks or dinner! As standard as this is, I love buffalo chicken wings dipped in buffalo and ranch!
Do you like buffalo sauce? Do you have a certain brand you use? Let me know in the comments!
This Buffalo Chicken Sliders recipe is accompanied by a YouTube Tutorial. If you haven’t subscribed to my channel on YouTube, don’t forget to!
HERE IS HOW TO MAKE Buffalo Chicken Sliders:
WHERE CAN I FIND THESE INGREDIENTS?
These buffalo chicken sliders ingredients can be found at your local grocery store and bakery/deli! For this recipe, I used chicken breast from a rotisserie chicken I bought at Superstore. You can make your own chicken breast or just get something that’s already cooked and can be easily picked up from the store.
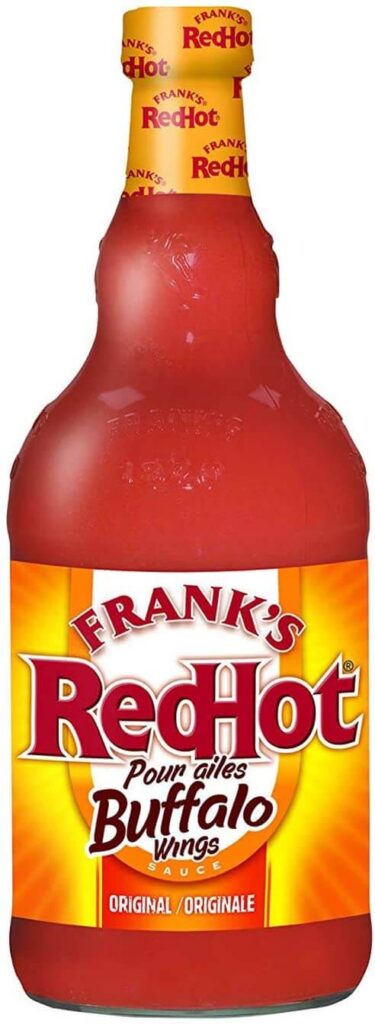
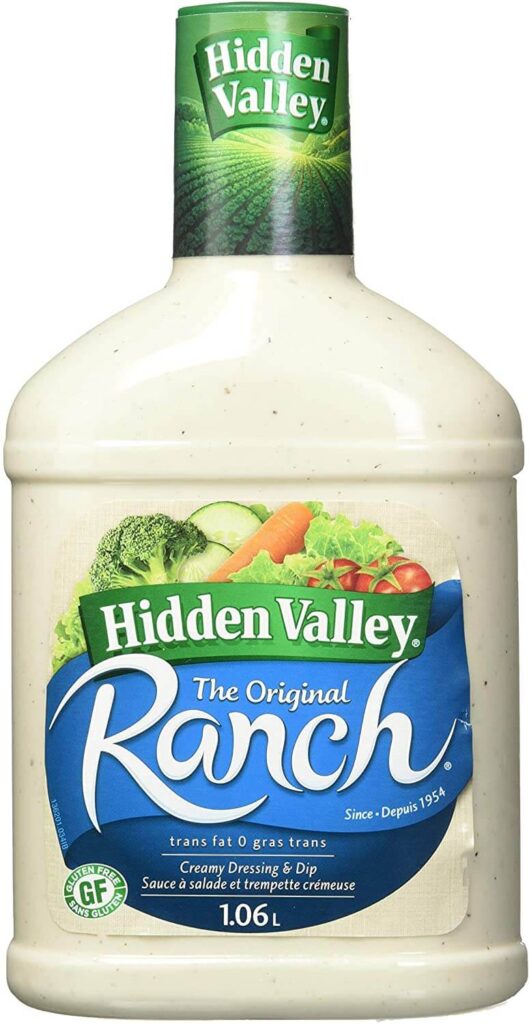
Buffalo and ranch sauce can be found in your local sauce/dressings aisles and onions and celery can be found in your produce aisle! For this recipe and in general, I use Frank’s Red Hot Buffalo sauce and Hidden Valley Ranch. You’re welcome to use whatever sauces you’d like!
WHAT ARE THE INGREDIENTS?
The ingredients for this Buffalo Chicken Sliders recipe are:
- 1 Cups of Diced Chicken Breast
- 1 Package of Dinner Rolls (12)
- 1/4 Cup of Buffalo Sauce
- 1/2 Cup of Ranch Sauce
- 1/2 Cup of Diced Sweet Onions
- 1/2 Cup of Diced Celery
- 12 Slices of Provolone Cheese
- Salt to taste
- Pepper to taste
- 1 Minced Garlic Clove
- 1 Tbsp of Salted Butter
WHAT EQUIPMENT DO I NEED?
This Buffalo Chicken Sliders recipe is super simple and requires very little cooking. All you really need to a cutting board and knife to chop the chicken and slice the middle of the bread. You’ll also need a bowl and spoon or spatula to mix everything up before scooping it onto the bread. A flat baking tray is best to toast up the sandwich and melt the cheese.
WHAT ARE THE STEPS TO PREPARE?
To make these simple buffalo chicken sliders, you’ll need to:
- Prepare
- Dice
- Measure
- Bake
- Serve
CAN I SUB ANYTHING OUT?
For this buffalo chicken sliders recipe, you can really substitute whatever you want! This recipe should be stress-free and something that you can grab at any shop or have already in your home. The main ingredient here is really the rolls (to make them sliders) as well as the buffalo sauce then the rest is up to you to decide and tailor to your tastebuds!
Aside from chicken, any source of protein works. You can use chickpeas as a vegan or vegetarian substitute and use a dairy-free ranch or other dairy-free “creamy” dressing to balance the coolness and heat.
WHAT DOES IT TASTE LIKE?
The most amazing part of this recipe is how each ingredient actually makes a difference! When you take your first bite, you’re introduced to a fresh roll, melty cheese and garlic butter top and once you start to really bite into the slider, you’ll find a mix of crunchy fresh celery and onions, juicy chicken breast, hot buffalo sauce and cool ranch sauce.
This goes perfect with a cold drink, especially during summer!
HOW LONG DOES IT KEEP FOR?
This recipe actually stores well. The buffalo chicken mixture isn’t too runny to make the bread soggy which is great. If you wanted to have it for lunch for about 2-3 days, it would be fine. Try and toast it on low heat before you eat it and you should be good! Store in a ziplock or airtight container for maximum freshness.
WHAT GOES WITH THESE BUFFALO CHICKEN SLIDERS?
For this Buffalo Chicken Sliders recipe, you can have it with:
- A Salad
- Soup
- Fresh Vegetables and dip
- Fresh Fruits
- Chips
- Fries
- and/or a few by itself!
WHAT ARE OTHER VARIATIONS OF BUFFALO CHICKEN RECIPES?
You can make a bunch of different variations of sliders! Some include:
MORE EASY SLIDER RECIPES?
- Chicken Parmesan Sliders
- Philly Cheesesteak Sliders
- Ham & Cheese Sliders
- Crispy Vegan Chickpea Sliders
- Pulled Pork Sliders
INSPIRATIONS FOR THIS DISH?
My dad, mom and I have always loved our hot sauce and often have different varieties in our home! My dad and I would always put buffalo chicken wings in the cart even though my dad often said we eat too many wings haha!
My husband sadly doesn’t like too much spice but what I love about hot sauce is that I could literally just put some whenever I want on my food! I love incorporating spiciness to my recipes and sharing it with other friends and family who love it just as much as I do.
HOW CAN I MEAL PREP THIS RECIPE?
You absolutely can! As soon as you make these buffalo chicken sliders, cut and divide the sandwiches for each day. Prepare a side of chips, veggies and/or fruit and it makes the perfect balanced lunch or easy mess-free dinner!
ANY OTHER NOTES?
No other notes for this recipe. It is super easy and so good! I hope everyone who loves spicy foods gets to enjoy this one day!
Buffalo Chicken Sliders
Ingredients
- 1 Package Dinner Rolls about 12 rolls
- 2 Cups Cooked Chicken Breast shredded or diced
- 1/2 Cup Celery diced
- 1/2 Cup Sweet Onion diced
- 1/2 Cup Ranch Sauce
- 1/4 Cup Buffalo Sauce
- Salt to taste
- Pepper to taste
- 12 Slices Provolone Cheese
- 1 Clove Minced Garlic
- 1 Tbsp Salted Butter
Instructions
- Preheat oven to 350 F and prepare a baking tray. Foil or parchment paper is optional.
- In a mixing bowl, combine your diced chicken breast, celery, onion, buffalo sauce, ranch sauce, salt, and pepper. Mix until everything is fully coated and incorporated with the sauce.
- Slice your whole package of dinner rolls about half way through and place the filling in an even layer then add provolone cheese on top.
- In a seperate bowl, add in your minced garlic and butter and warm up in the microwave until the butter is fully metled.
- Close the dinner rolls and brush with the garlic butter mixture.
- Bake in the oven for about 10-15 minutes or until the cheese is melted and the top of the dinner rolls are golden brown.
- Serve and enjoy!
This concludes my super simple buffalo chicken sliders recipe. I hope you can take the heat and enjoy these cute sandwiches!
Would you make these sandwiches?! I’d love to know in the comments below!
Xo,
Lynn
This blog post is all the details on Buffalo Chicken Sliders.
P.S: If you haven’t read my most recent post, click here!
PIN Buffalo Chicken Sliders FOR LATER:
If you liked reading Buffalo Chicken Sliders, you might like these are well!
This is the end of Buffalo Chicken Sliders.

These look delicious, I have pinned for future referance 🙂
Thanks so much, Brooke! xx
So simple, yet they would be so delicious! I love the kind of meals where no cooking is required! Gonna try these for sure! Thanks, lovely, for sharing!
Thanks so much for commenting, Jenny x
These look amazing!! They would be such a great add for a picnic at the park!! I love easy meals were there is no cooking required and perfect for this heatwave! x
Totally agreed! Thanks for commenting, Cristina x
I LOVE buffalo sauce & last week I saw the Frank’s buffalo sauce for the first time in the grocery store & I bought several bottles. I already made buffalo cauliflower bites haha
These look so good & I already have some veggie chicken to use. I just need to find a good roll recipe (why don’t they have rolls in Denmark?!) But seriously I looked up King’s Hawaiian dinner rolls & I can buy a pack of rolls online for $20 like what lol
OMG no way! that’s so expensive!! Yes, a good roll is key to this as well! I’m glad there’s Frank’s in Denmark! Thank you for commenting x