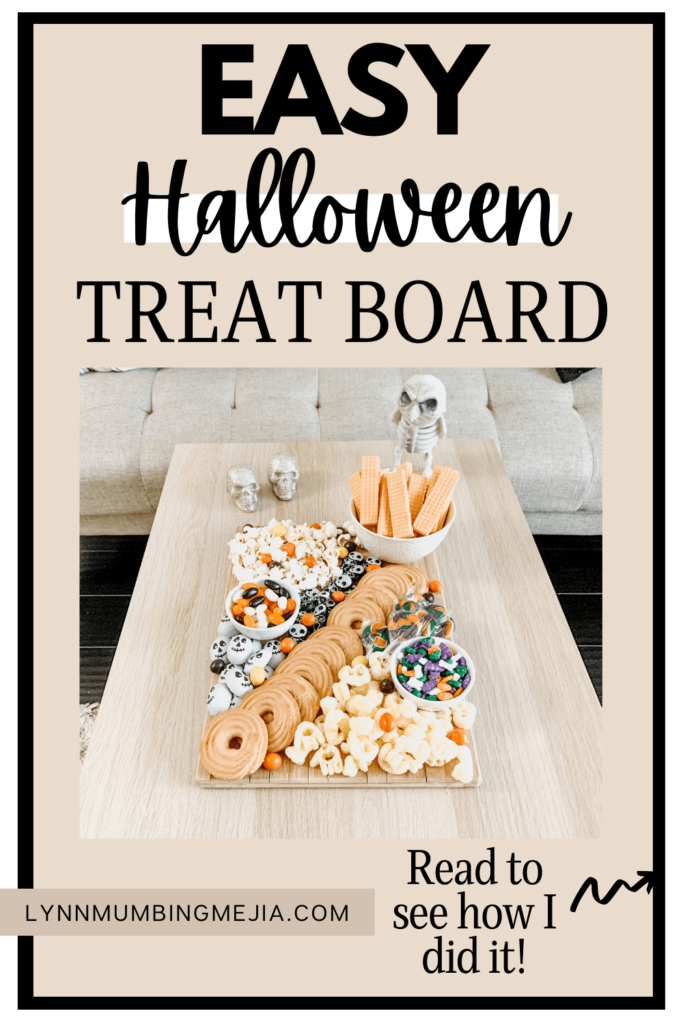
Easy Halloween Treat Board
Read more for all the details on how to make an Easy Halloween Treat Board.
I swear this is one of my last Halloween posts this year even though I keep saying it haha! Halloween is such a fun time and really brings out everyone’s creativity. I always have fun and new ideas pop into my head!
I for one, love Halloween for the treats. I love heading into grocery stores and seeing all the Halloween-themed snacks and treats and picking things out to enjoy while my husband and I do some Halloween activities!
As much I don’t love orange, purple, green and yellow home decor, I will gladly enjoy a colourful snack board! I make snack boards for pretty much every occasion as they are fun, cute and easy to assemble for guests too!
I’ve made some for Valentine’s Day and Christmas Board on the blog so naturally, I wanted to share a Halloween-themed one too.
Have you ever made a fun seasonal-themed board? What do you put in yours? I’d love to know in the comments!
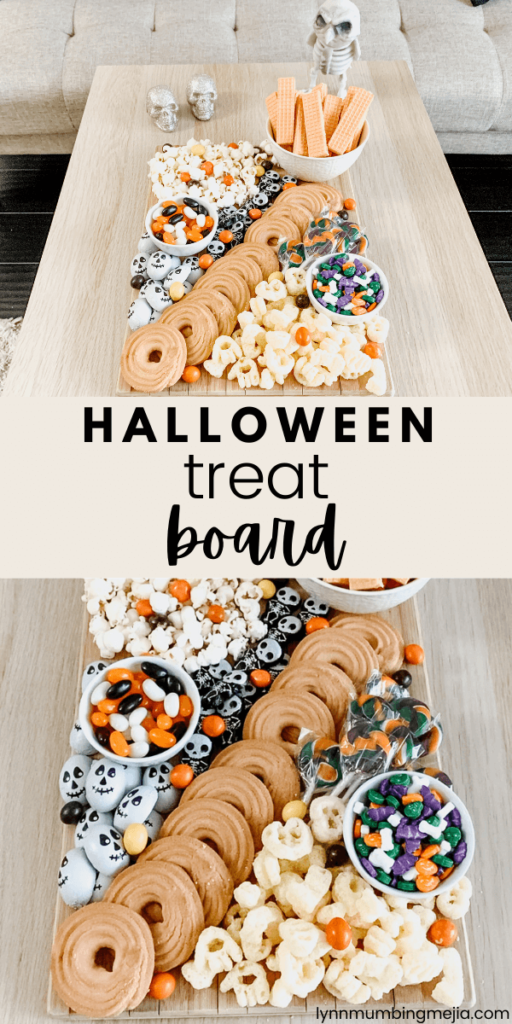
PIN Easy Halloween Treat Board FOR LATER:
As we all grow up, it’s very easy to forget to celebrate the little things. I totally get it especially to my readers in their 20’s/30’s, it’s super hard to just get lost in the waves of life and constantly worrying about ourselves and what’s going on.
When I graduated college back in 2018, I felt that. I moved out of my parents’ house and just lived a mediocre life for a bit. I didn’t really find joy in the little things and lived more or less the same days every day. It wasn’t until I realized that wait… this isn’t me and I was a fun and creative person under all of this adulting!
I started filling my life with little joys like being cozy, learning to cook, learning to decorate, learning new skills and projects and I finally started to feel happier and knew my sense of purpose!
Fast forward 3 years and I’ve made a beautiful platform for myself to share all of my little joys and projects like making these really cute and easy Halloween Treat Boards.
What are the little joys in your life that you’ve been doing lately? Share it with me in the comments!
This Easy Halloween Treat Board is accompanied by an Instagram reel I posted on Instagram! Don’t forget to follow me if you don’t already!
HERE IS HOW TO MAKE AN EASY HALLOWEEN TREAT BOARD:
WHERE CAN I PURCHASE THESE INGREDIENTS?
What is so great about this board is that you can literally add anything and everything you want! You don’t need to make everything snack on the board specifically Halloween-themed but you can mix and match things. I purchase my snacks from a variety of places. I like to first check what’s in my cupboard so I don’t waste too much, then I like to head in the dollar store for sweet treats and the grocery store for everything else!
WHAT ARE THE INGREDIENTS?
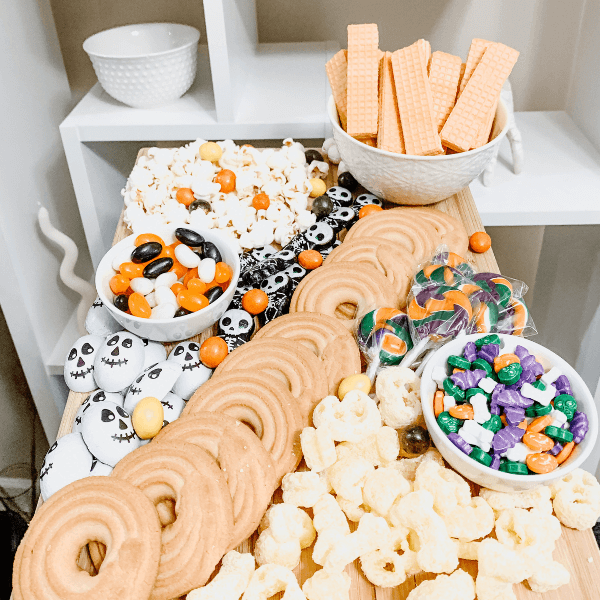
You can definitely add or take out anything you’d like! Thats the beauty about boards, they never have to be one and the same ever! The snacks and treats I used for this Easy Halloween Treat Board are:
- Cheetos Puffs and Bones
- Smartfood Cheddar Popcorn
- Vanilla Wafer Sticks
- Reeses Pieces with Peanuts
- Halloween Jelly Beans
- Skull and Skeleton Chocolates
- Halloween Lollipops
- Mixed Halloween Shaped Mini Candies
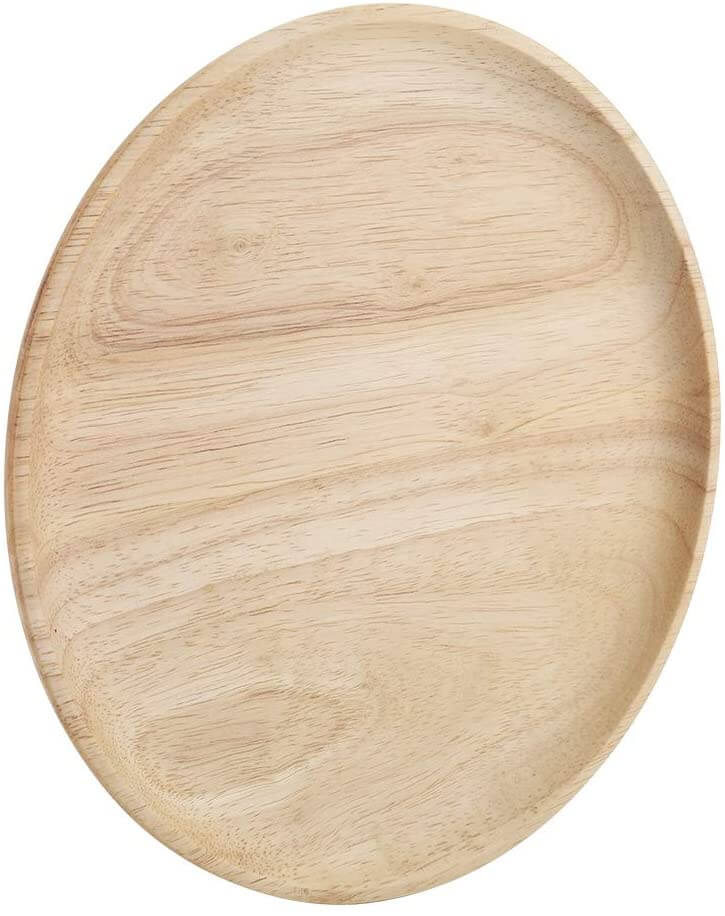
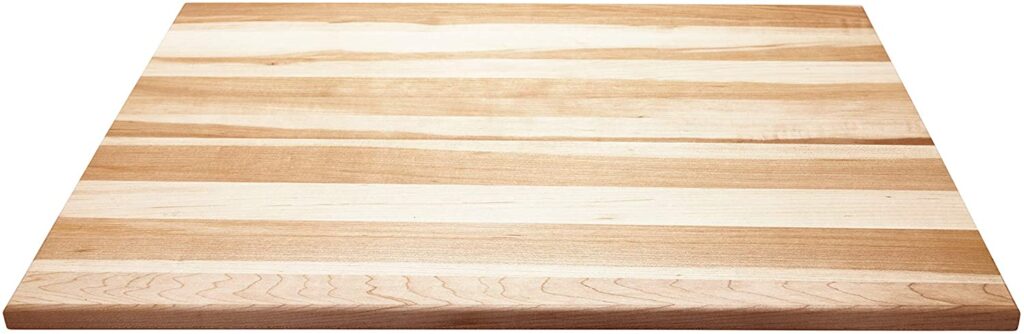
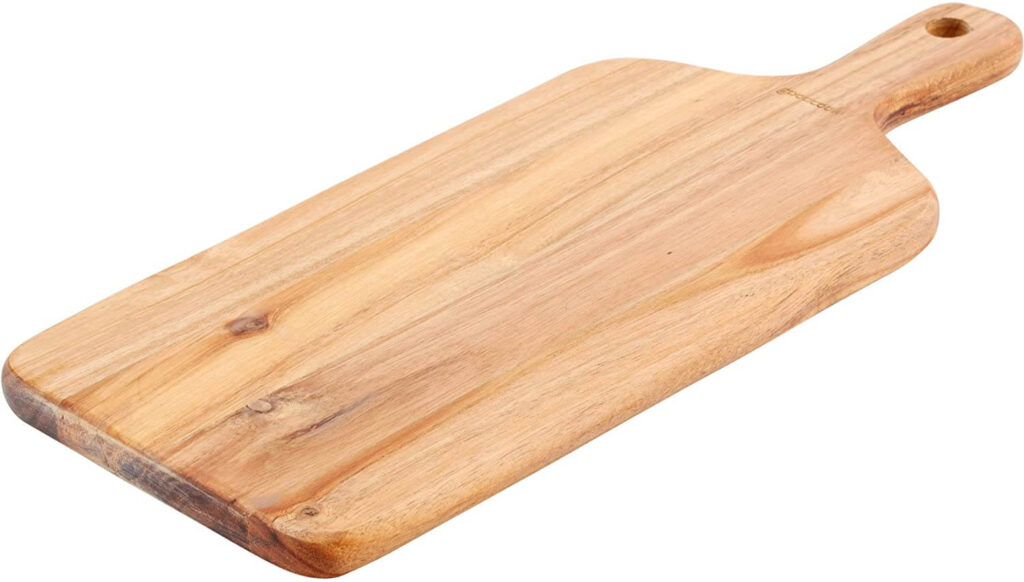
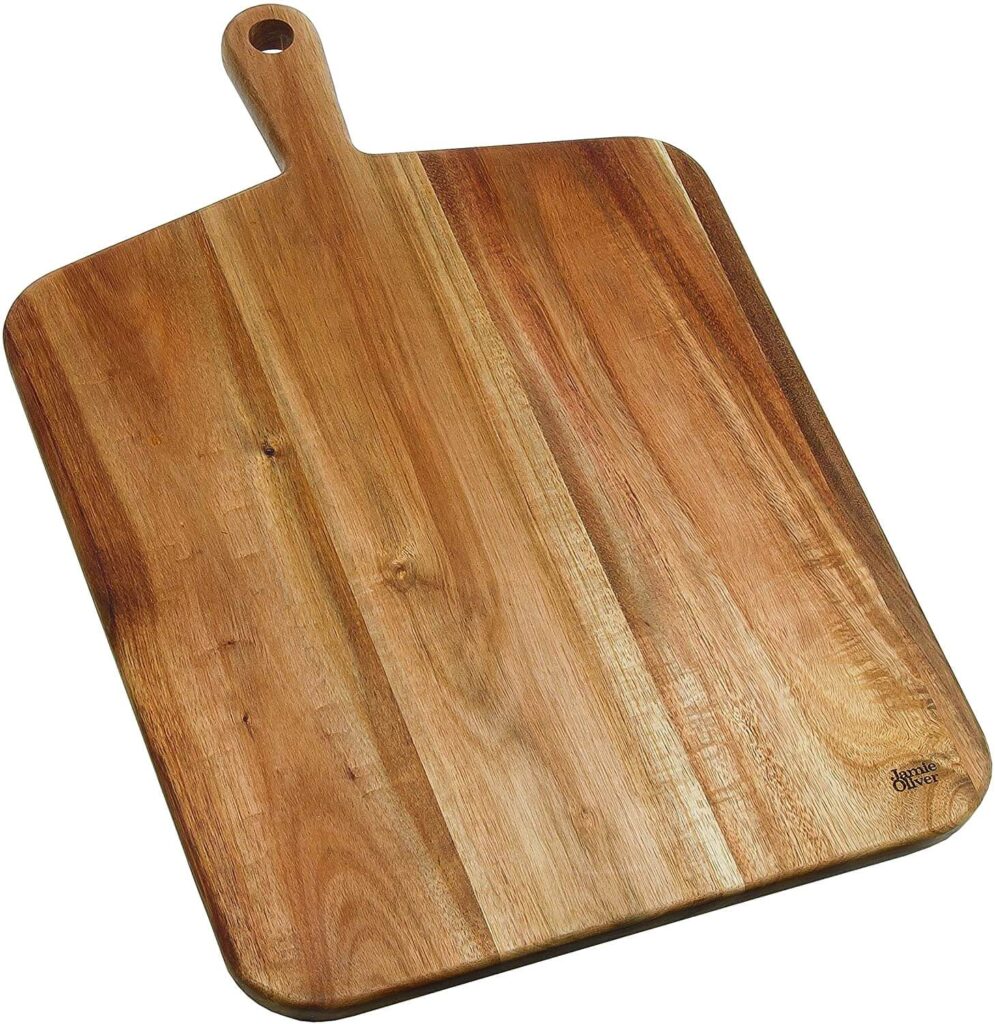
WHAT KIND OF WOOD BOARDS SHOULD I USE?
I love using wood boards as to me it adds a sense of homeyness to it! Serving food on wood boards looks really classy and elegant as well as very cozy and intimate. Wood boards have been so popular everywhere and are awesome for any event or party you have! I have bought some off Amazon, had some gifted to me and also have just picked some up from the dollar store and they all work perfectly.
Some of my favourite and affordable Amazon wood boards are:
HOW DO I MAKE IT LOOK PRETTY?
Yes, you heard it right! Food boards are pretty. Yes, I said it. That’s what they are such a big hit on social media lately because they are aesthetically pleasing! I’ve got a few tips on how to make your Easy Halloween Treat Board really pretty and aesthetically pleasing. Here are some of my favourite tips:
ADD A VARIETY OF SHAPES
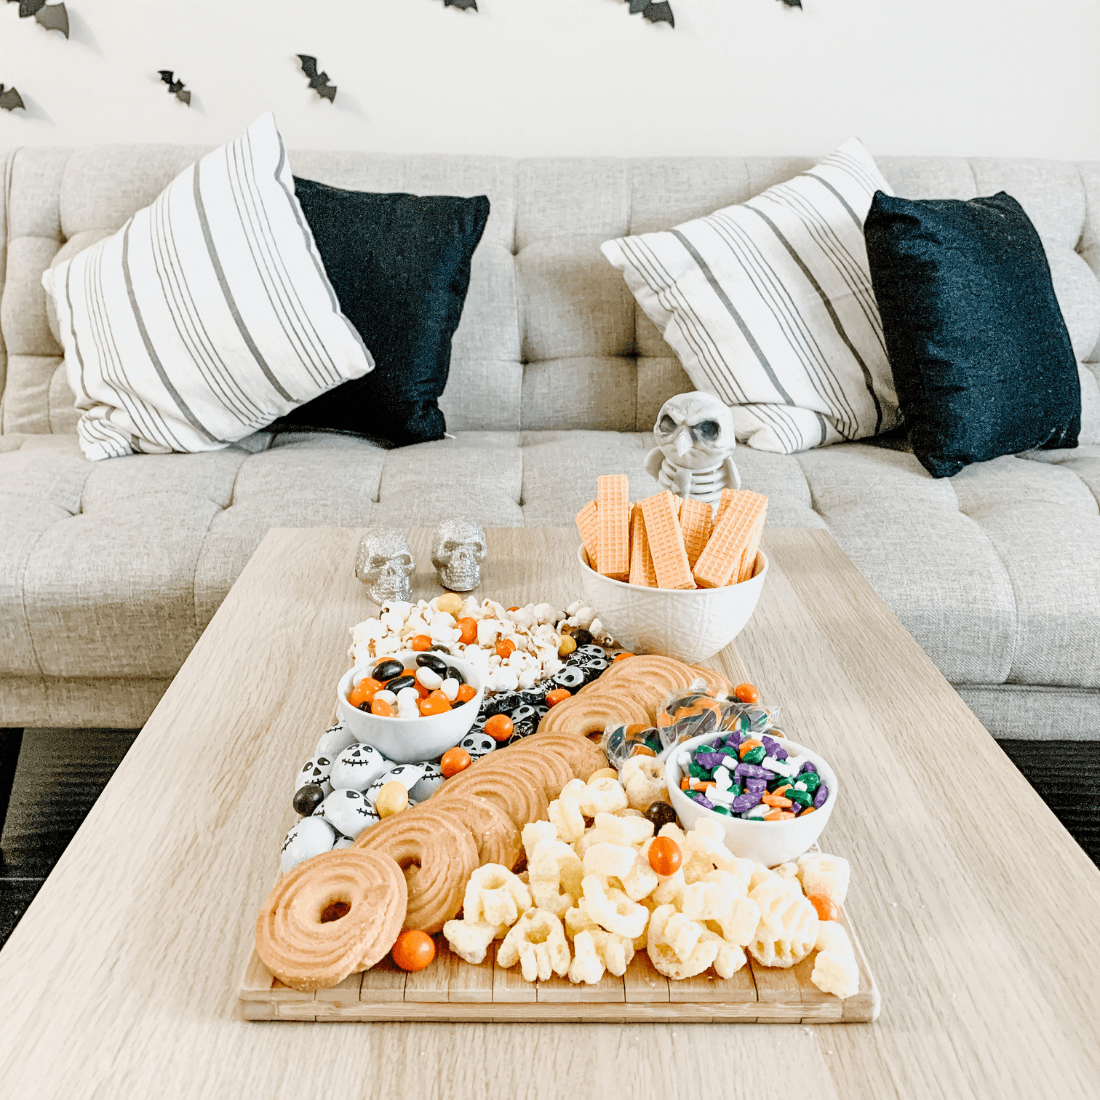
An awesome rule of thumb is to add a variety of shapes when assembling any kind of board. You want certain things to stand out and not just look like a plain board where everything is the same or similar in shape. As you can see in my board, I added some tall vanilla wafer sticks, donut-shaped shortbread cookies, popcorn, and lots of different styles and sizes of candy.
ADD A VARIETY OF TEXTURES
This one is definitely easy to follow all foods have different textures but I’m talking about textures when it comes to looking rather than eating. The donut-shaped shortbread has some swirls on the front, the vanilla wafer sticks have textured lines, the Cheetos I got are shaped as fluffy-looking bones and skeletons and again all the different candy designs!
ADD DECOR/FRESH GREENERY
Although, I didn’t do it for this one as I just didn’t have one handy but feel free to add decorative pieces as well. Not everything on the board needs to be eaten. You can add in some thyme, rosemary, sage or any fresh herbs as garnish or decor or you can even add skeletons, skulls, pumpkins or any other Halloween-themed decor too! Just make sure that you wash them thoroughly!
PLACE BIG ITEMS FIRST THEN FILLERS LAST
Always put your big items first then fillers last. In this Halloween Treat Board, my big items are the Cheetos, popcorn, bowls of candy, vanilla wafer sticks and shortbread cookies while everything else, I just started inserting them to fill up my board!
If you do it the opposite way, you might not have enough space to add the big items which wouldn’t be favourable as you’ll end up with all these tiny little treats!
Think of it as if you were doing a cheese and meat board and you put all the little berries and nuts first before the cheese and meat. It leaves your guests having to nibble on smaller things more which can be a little annoying at dinner parties! The smaller things are one of the last things guest focus on and is for decor too!
PLACE SAME COLOURED ITEMS OPPOSITE FROM EACH OTHER
This is an important tip because I’ve seen so many boards where they place the same colours in the same corner of the board and unless you are trying to make an ombre-coloured board or even a rainbow one, make sure to put the same coloured items on the opposite side of the board!
If you look at how I assembled my board, you can see that the Cheetos and popcorn look a bit similar in colour so what I did is put them away from each other to open the board up more and create a nice design instead of having all the same colours in one place and leaving the treat board looking one dimensional.
FILL THE BOARD UP A LOT AS YOU’LL FIND EMPTY SPACE QUICK
Last but not least and probably the MOST IMPORTANT tip and that is to fill up the board as much as you can! As soon as people start eating from your board, you will start getting empty space so if you bought all your ingredients from scratch, just layer it on as much as you can.
The empty space is non-avoidable but if you could prolong the amount of time that the board can keep looking full, the better!
ANY OTHER BOARD INSPIRATIONS?
Of course, I have so many board inspirations! Mine was really low budget and cost me about $10 to make but people are so creative and really go all out on Pinterest and I adore them. I don’t have a Halloween party going on this year but when I do host one, you bet that I’ll be serving it up!
Here are some beautiful Halloween Treat Boards that I enjoyed seeing on Pinterest:
I hope you enjoyed reading how I made this super cute and easy Halloween Treat Board! I always have so much fun assembling these together and no, you do not need to have a kid to do these!
I truly believe that life is too short to not make it magical at any moment you possibly can and celebrating these little seasonal things make a bit of difference!
I hope that regardless of who you are and where you are, you get to enjoy treats on October 31! Even if its one treat for yourself or treats shared with others! I know I will be.
What would you put on your Halloween treat board? I would love to know in the comments below!
Xo,
Lynn
Are you making a Halloween Treat Board this Halloween?! Don’t forget to tag me if you do!

This blog post is all the details on how to make an Easy Halloween Treat Board.
P.S: If you haven’t read my most recent post, click here!
PIN Easy Halloween Treat Board FOR LATER:
If you liked reading how to make an Easy Halloween Treat Board, you might like these are well!
Chocolate-Covered Ghost Strawberries
Candy Corn Rice Krispies Treats
40+ Last-Minute Halloween Treat Ideas
This is the end of how to make an Easy Halloween Treat Board.
this is awesome!! thanks for sharing. love platters of food like this that the entire family can eat from together!
I am honestly in awe of Halloween treat boards! They are such a great idea and full of different textures and items that can easily make everyone happy! I haven’t hosted a Halloween party myself, but would make one of these when the moment comes! x
That treat board looks so delicious! I am always so jealous, I wish I could make mine look so good! But I think I am a bit to critical on myself! I am going to attempt your post and tips! Great post
This looks so cool, and such a great idea for Halloween!!!
Also, don’t stop woth the Halloween posts haha!
This board is so creative and fun! I’ll be hosting a Halloween Housewarming party at the end of the month and I’ve been looking for creative snack ideas. LOVE this!! I’ll definitely be picking up some of these treats for my own event. Thanks for the inspiration!
Wow, this looks amazing!
Danielle
This food selection looks amazing! Tasty treats with a theme.
WOW! That’s so pretty! I’m terrible in the kitchen – I don’t think mine would ever look as cute as yours! I do love the idea of putting pumpkins on the board, though, for decoration purposes. I’d never have thought to add something in-edible to a food board, but it’s a great suggestion.
The treat board that you put together looks so yummy! I absolutely love this idea for Halloween parties and other get-togethers. I think I would make two board – one for chocolate-style treats and one for fruit-based treat, such as gummy worms. Thank you for sharing!
xoxo,
Sydney
I may not be celebrating Halloween any time soon but this serves as an inspiration for most probably Diwali and Christmas or any other special occasion popping up in the near future. These treat boards are so convenient and easy to get any party going. Thanks for this Lynn.
I love these creative charcuterie boards with different types of treats. This one looks really good and could be a great centrepiece for a Halloween get together!
I love making treat boards when I have people over. This Halloween one looks so good. I’m not celebrating Halloween but would definitely try making it if I did.
Antonia || Sweet Passions
This looks so cool! If I was hosting a Halloween party, I would definitely be making this 😍🎃
This looks absolutely amazing! I’ll definitely have to try compiling my own:)
LOVE this post. I did a Halloween board last year but made everything spooky. I made witches hats and brooms from cheeses, busicuits etc. It went down really well!
Rosie
I love this – I’ve been looking for alternatives to trick or treating this year, and this might just be my answer.
This Halloween treat board is amazing! The little touches and treats look so cute! x
Lucy | http://www.lucymary.co.uk
Ooh all of these treats look delicious Lynn, I love it! I’ve never heard of a treat board but it sounds perfect for Halloween x
This Halloween treat board is sooo cute. I love it!
I love the mix of flavors and textures and colors you include on your board to make it as attractive and delicious as possible! I have never done a treat board for Halloween, but the idea of having sweet snackables to share and pass around is so fun.
Thanks for sharing!
Halloween is truly a fun time! Your treat board looks AMAZING. It’s so fun to decorate and celebrate in as many ways as you can. This board looks perfect for a scary movie night!
This is so cool! I love making boards, though I haven’t made one in awhile. Halloween is such a fun time, so many creative things to do! And so many treats too, which I of course love haha!
I’m literally obsessed with this board, it looks super halloweeny and yummy! love the ideas you’ve shared. Think I’m going to have to make one of these myself, ASAP! Thank you so much for sharing lovely Xo
Elle – ellegracedeveson.com
I’ve been telling myself I’ll make one of these *SOMEDAY* but it’s been like… 2 years now. I think I’m REALLY going to aim to make one for either Halloween or Christmas this year. I use to be so extra about things but now I’m just… tired. ALL THE TIME. Having a toddler does that, but I think even Tums can enjoy something as pretty as this (and let’s be real, what kid doesn’t like a board full of snacks lol)!