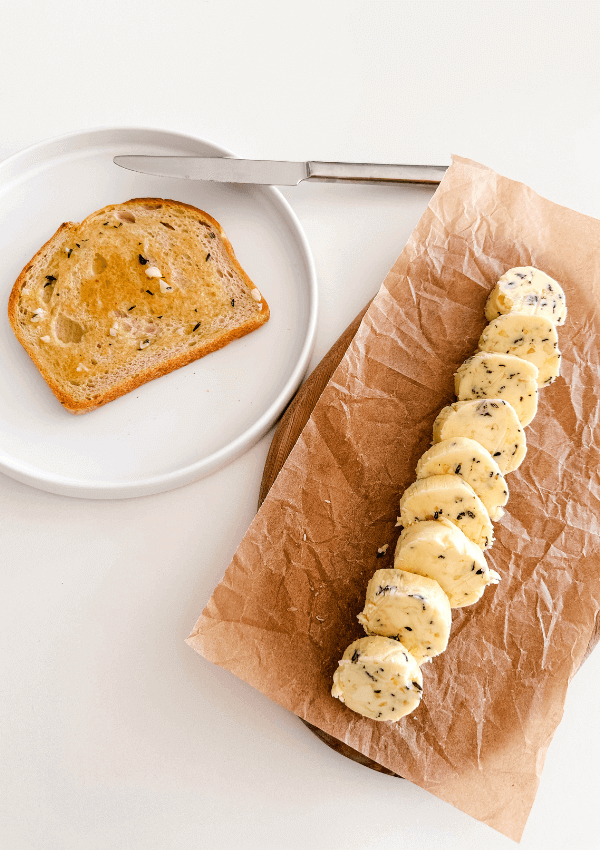
Garlic Rosemary Thyme Butter
Read more for all the details on Garlic Rosemary Thyme Butter.
Making compound butter has been my latest obsession! Who knew that flavoured butter could literally make your day better?! I would’ve tried a bunch of different flavoured butters a long time ago! I love being able to wake up and choose what kind of butter I want to enjoy on my toast! This Garlic Rosemary Thyme Butter was inspired by Thanksgiving! I had leftover herbs and thought, why not, and boy, I was not disappointed!
PIN Garlic Rosemary Thyme Butter FOR LATER:
This Garlic Rosemary Thyme Butter is accompanied by a YouTube Tutorial. If you haven’t subscribed to me on YouTube, don’t forget to!
HERE IS HOW TO MAKE GARLIC ROSEMARY THYME BUTTER:
WHERE CAN I FIND THESE INGREDIENTS?
You can find the ingredients to make this delicious flavoured butter at your local grocery store! I used my leftovers from Thanksgiving! I bought so much butter because I was afraid of not having enough, and I had leftover herbs from the Turkey. You should be able to find everything at your local grocery store in the dairy, produce and pantry aisles!
WHAT ARE THE INGREDIENTS?
The ingredients to make this savoury compound butter are:
- Unsalted butter
- Salt (I know it’s weird with the ingredient above, but you are better able to control how salty you want it!)
- Fresh Thyme
- Fresh Rosemary
- Fresh Garlic
WHAT EQUIPMENT DO I NEED?
You don’t need any special equipment to make this at all! You’ll basically just need some kitchen basics like a bowl, spoon, chopping board and knife, of course. You can store the butter in any container you have or wrap it up in plastic wrap!
Here are my Amazon Kitchen essentials!

CAN I SUBSTITUTE/ADD ANYTHING OUT?
You sure can! This recipe is super easy and simple, which I wanted it to be, but you can add anything your heart desires, of course!
- You can add more herbs like dill, parsley, cilantro, and sage
- You can add some seasonings like onion powder or paprika
WHAT DOES GARLIC ROSEMARY THYME BUTTER TASTE LIKE?
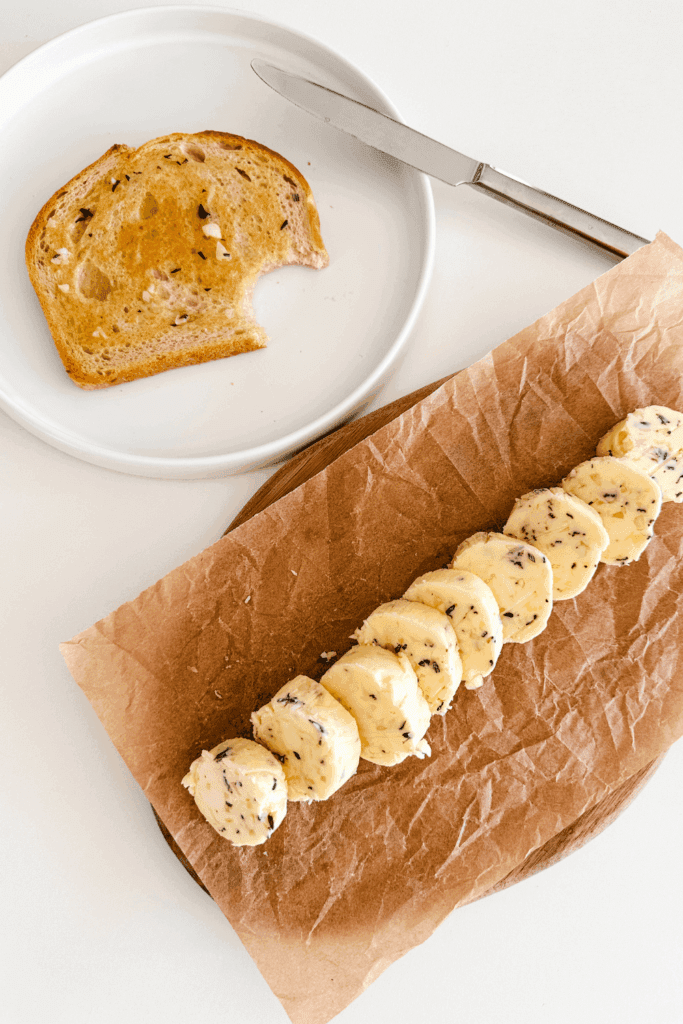
Garlic Rosemary Thyme Compound Butter tastes rich, savoury, and beautifully aromatic. The butter adds a creamy, salty base, while the garlic brings warmth and depth. Fresh rosemary and thyme add earthy, woodsy notes with a hint of pine and citrus that make every bite feel fresh and flavorful. When it melts over bread, veggies, or meat, it creates this buttery, herby sauce that’s comforting, fragrant, and downright irresistible, like the essence of a cozy roast dinner in spreadable form.
HOW LONG DOES IT KEEP FOR?
This butter is great to use on anything, so it may not last too long but so far, I’ve added it on baked salmon, chicken wings, toast and eggs! Flavoured butter can typically be kept in the fridge for about 1-2 weeks when stored in an airtight container or tightly wrapped in plastic wrap or parchment paper. You can also freeze this for about 3-6 months! Just make sure it’s well wrapped and sealed in a freezer-safe bag to avoid any freezer burn taste. To use from the freezer, just slice off what you need or let it soften in the fridge overnight.
INSPIRATIONS FOR THIS RECIPE?
I’ll say it time and time again, but Thanksgiving dinner is my fav dinner of the year. I absolutely love all the flavours it comes with it! I feel like garlic + rosemary + thyme + butter just absolutely screams Thanksgiving dinner and it’s so freaking delicious! I love how quickly this butter comes together and how versatile it is.
ANY OTHER NOTES?
Make sure your butter is completely softened! It’s way easier to mix together when it’s completely softened 🥰
Garlic Rosemary Thyme Butter
Ingredients
- 1/3 Block Unsalted Softened Butter approx 150g
- 1 tsp Flaky Sea Salt
- 1 Tbsp Fresh Rosemary Leaves finely chopped
- 1 Tbsp Fresh Thyme Leaves finely chopped
- 2-4 Cloves Garlic pressed or finely chopped, use as much garlic as your heart desires <3
Instructions
- In a bowl, add in your softened unsalted butter, garlic, rosemary, thyme, and flaky sea salt.
- Mix until all ingredients are well combined.
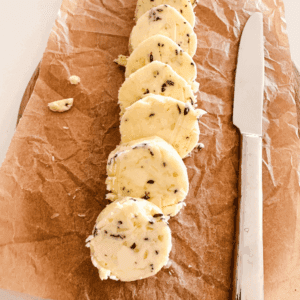
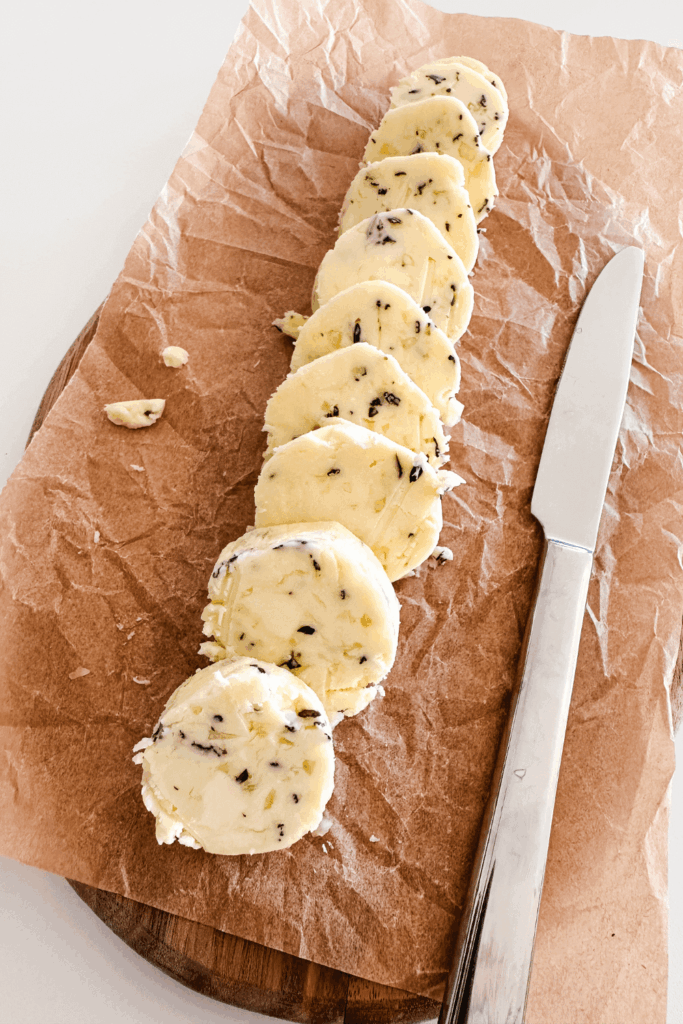
- Roll into a log on parchment paper or plastic wrap and store in the fridge or use right away!
Thank you for reading to the end of this recipe! Hope you enjoy this as much as I do <3
Xo,
Lynn
Are you going to try making this Garlic Rosemary Thyme Butter recipe?! Don’t forget to tag me if you do!

This blog post is all the details on Garlic Rosemary Thyme Butter.
P.S: If you haven’t read my most recent post, click here!
PIN Garlic Rosemary Thyme Butter FOR LATER:
If you liked reading Garlic Rosemary Thyme Butter, you might like these as well!
Cranberry Apple Cinnamon Butter
Baked Butter Garlic Chicken Wings
Lemon Butter Parmesan Asparagus
This is the end of Garlic Rosemary Thyme Butter.