Kimchi Tuna Fried Rice
Read more for all the details on Kimchi Tuna Fried Rice.
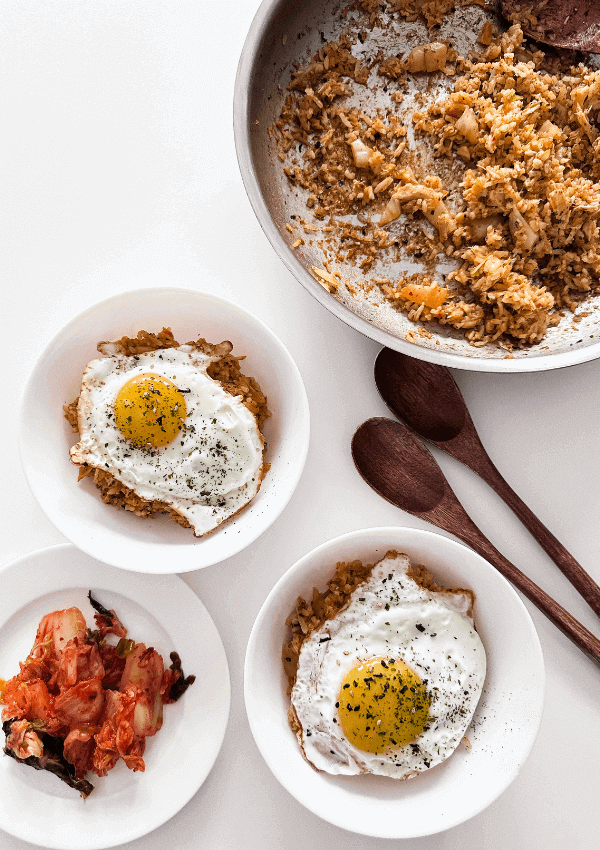
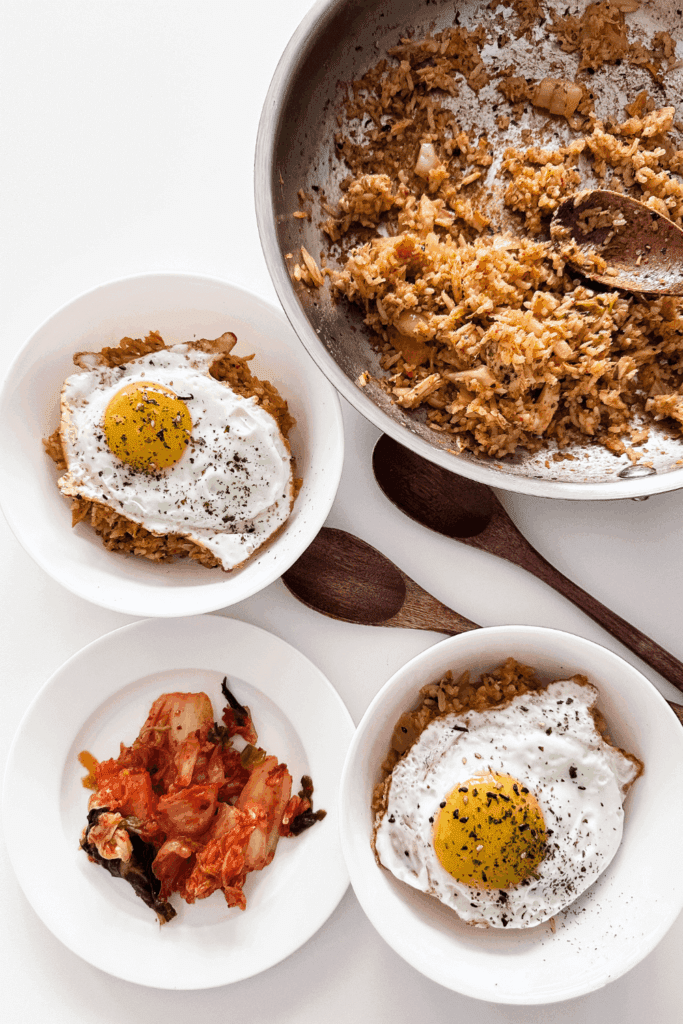
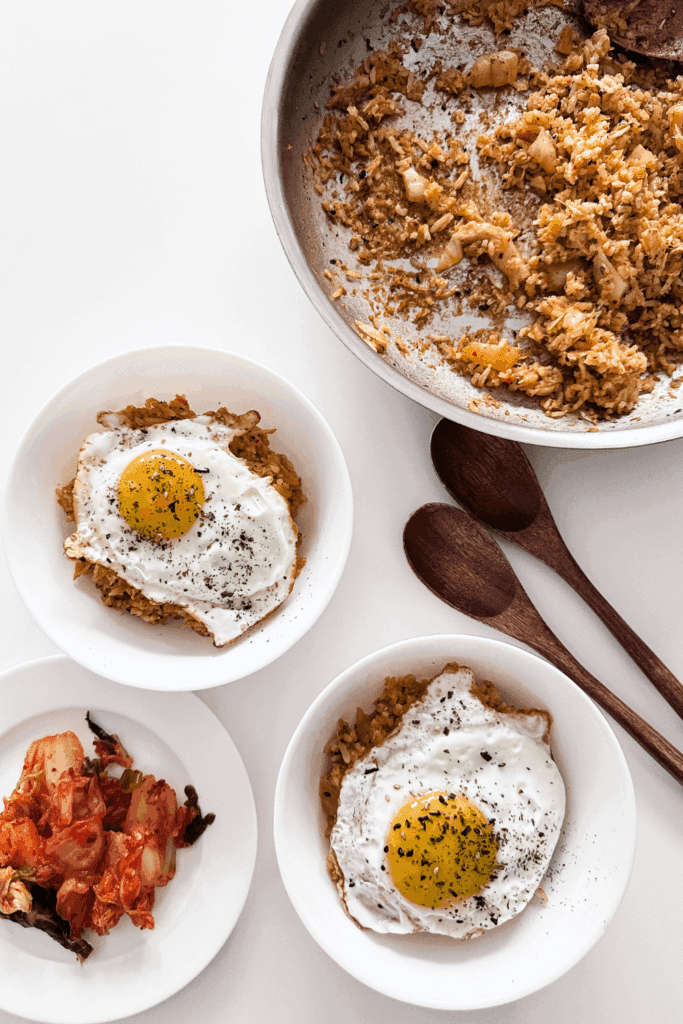
This Kimchi Tuna Fried Rice is bold, savoury, and packed with umami flavour! Spicy, tangy kimchi pairs perfectly with hearty tuna and fluffy rice for a quick, satisfying meal that comes together in minutes! Perfect pantry-friendly cooking for busy weeknights and last-minute meal preps.
PIN Kimchi Tuna Fried Rice FOR LATER:
This Kimchi Tuna Fried Rice recipe is accompanied by a YouTube Tutorial. If you haven’t subscribed to me on YouTube, don’t forget to!
HERE IS HOW TO MAKE KIMCHI TUNA FRIED RICE:
WHERE CAN I FIND THESE INGREDIENTS?
Kimchi has been super popular lately, and it’s becoming more common in many grocery stores! If it’s a struggle to find, you can definitely go to your local asian grocery store or Korean grocery store and pick up a jar! You’ll also need to get furikake which is seaweed seasoning from the asian grocery store but aside from this, most items should be available at any store! I usually get my canned tuna whenever it is on sale at Costco!
WHAT ARE THE INGREDIENTS?
Here is what you’ll need to make this delicious kimchi tuna fried rice:
- 1 Can Tuna
- 1/2 Cup Kimchi chopped
- 3 Tbsp Kimchi Juice
- 1 tsp Oil any oil of your preference just to saute the garlic!
- 2-3 Cloves Garlic minced
- 1 1/2 Cup Cooked White Rice day old is best!!
- 2 Tbsp Furikake
- 2 Tbsp Soy Sauce
- 1 tsp Sesame Seeds
- 1 1/2 tsp Sesame Oil
WHAT EQUIPMENT DO I NEED?
You don’t need anything special for this recipe! You’ll just need some basic kitchen items like a cutting board, knife, cooking utensils and a pan! I love this one-pot recipe and how easy it is to make!
Here are some of my Amazon kitchen favs!

CAN I SUBSTITUTE/ADD ANYTHING OUT?
Yes, of course you can! I keep my recipes as simple as possible so that everyone can try to make it but of course, you can tailor them to your tastes! Here are some ideas you can do to spruce this recipe up!
- Add an egg inside the fried rice (I usually have mine on top)
- Add extra hot sauce or chilli powder
- Add a handful of greens like kale or spinach
- Add some frozen sweet corn
- Add some garnish, like green onions
WHAT DOES KIMCHI TUNA FRIED RICE TASTE LIKE?
Kimchi tuna fried rice tastes bold, savory, and seriously satisfying. 🔥🍚
It’s spicy and tangy from the fermented kimchi, with deep umami flavors that soak into the rice. The tuna adds a hearty, savory richness, while everything gets slightly smoky and toasty from being stir-fried. Each bite is punchy, comforting, and a little addictive! This fried rice is spicy, salty, and sour, all in perfect balance.
HOW LONG DOES IT KEEP FOR?
Kimchi tuna fried rice stores well if kept properly:
- In the fridge: 3–4 days in an airtight container.
- In the freezer: up to 1 month, though the texture of the rice and kimchi may soften slightly after thawing.
Reheat thoroughly on the stovetop or in the microwave until hot all the way through.
INSPIRATIONS FOR THIS RECIPE?
I looked over my past couple of months and realized that I was spending way too much on groceries! I really want to eliminate food waste this year and use what I already have at home. I bought a fresh tub of kimchi because I felt like my gut health is not great, and thought of making some kimchi fried rice with some canned tuna that I have in the cabinet!
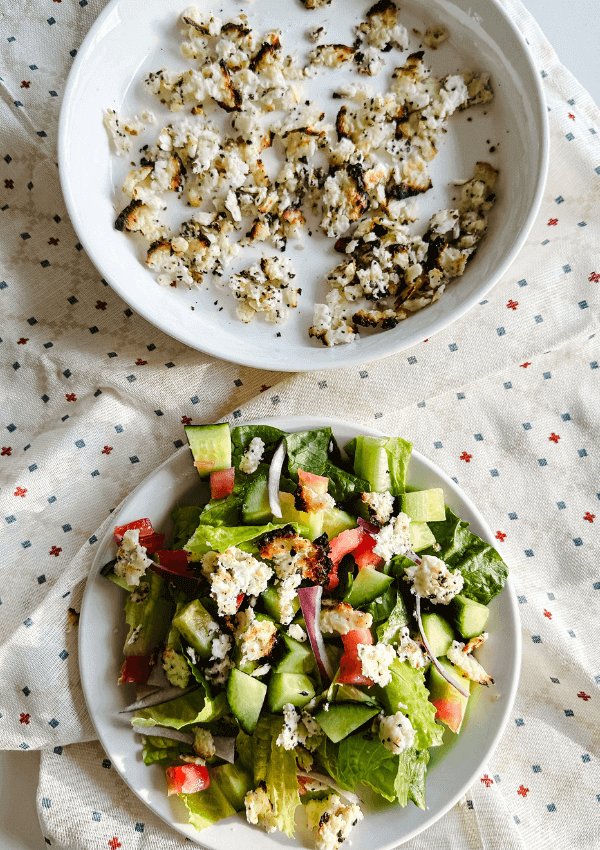
I divided this recipe into 4 meals and added an extra egg to each, and ate it with a side salad! It is the perfect lunch set that is balanced and flavorful!
ANY OTHER NOTES?
If you have some Kewpie mayo, a little drizzled on top before you eat, makes this recipe extra delicious!!

Kimchi Tuna Fried Rice
Ingredients
- 1 Can Tuna
- 1/2 Cup Kimchi chopped
- 3 Tbsp Kimchi Juice
- 1 tsp Oil any oil of your preference just to saute the garlic!
- 2-3 Cloves Garlic minced
- 1 1/2 Cup Cooked White Rice day old is best!!
- 2 Tbsp Furikake
- 2 Tbsp Soy Sauce
- 1 tsp Sesame Seeds
- 1 1/2 tsp Sesame Oil
Instructions
- Heat oil in a pan over medium heat. Sauté garlic until fragrant, about 30 seconds.
- Add tuna, kimchi and kimchi juice and cook for 2–3 minutes until slightly caramelized.
- Add rice, breaking up clumps and mixing well.
- Stir in soy sauce, sesame seeds, and furikake. Cook 3–5 minutes until heated through and lightly toasted.
- Turn off the heat and drizzle sesame oil on top.
- Serve and enjoy!
Thank you so much for reading to the end of this recipe! I hope you enjoy this as much as I do!
Xo,
Lynn
Are you going to try making this Kimchi Tuna Fried Rice recipe?! Don’t forget to tag me if you do!

This blog post is all the details on Kimchi Tuna Fried Rice.
P.S: If you haven’t read my most recent post, click here!
PIN Kimchi Tuna Fried Rice FOR LATER:
If you liked reading Kimchi Tuna Fried Rice, you might like these as well!
This is the end of Kimchi Tuna Fried Rice.