
How to plan a DIY Craft Project from Scratch | GUEST POST
*This is a guest post*
Read more for all the details on How to plan a DIY Craft Project from Scratch.
Have you thought of doing a DIY project before? If you did, what is the first thing that comes to your mind after that? Well, sometimes we would keep wondering about how to start. It’s something I have gone through, and it’s normal for that to happen. However, you can avoid and don’t waste your time and keep thinking about what and where to start going forward. I’m going to share how to plan a DIY craft project from scratch.
People might think it’s a lot of work and a long process. It all depends on the DIY projects. Some of them are easy to do and some of them will require you a lot of time and effort. That will be fun regardless, and you will enjoy it as long as you are planning everything. Because working randomly on a DIY craft will not be easy. So how to plan a DIY craft project from scratch and make it more enjoyable.
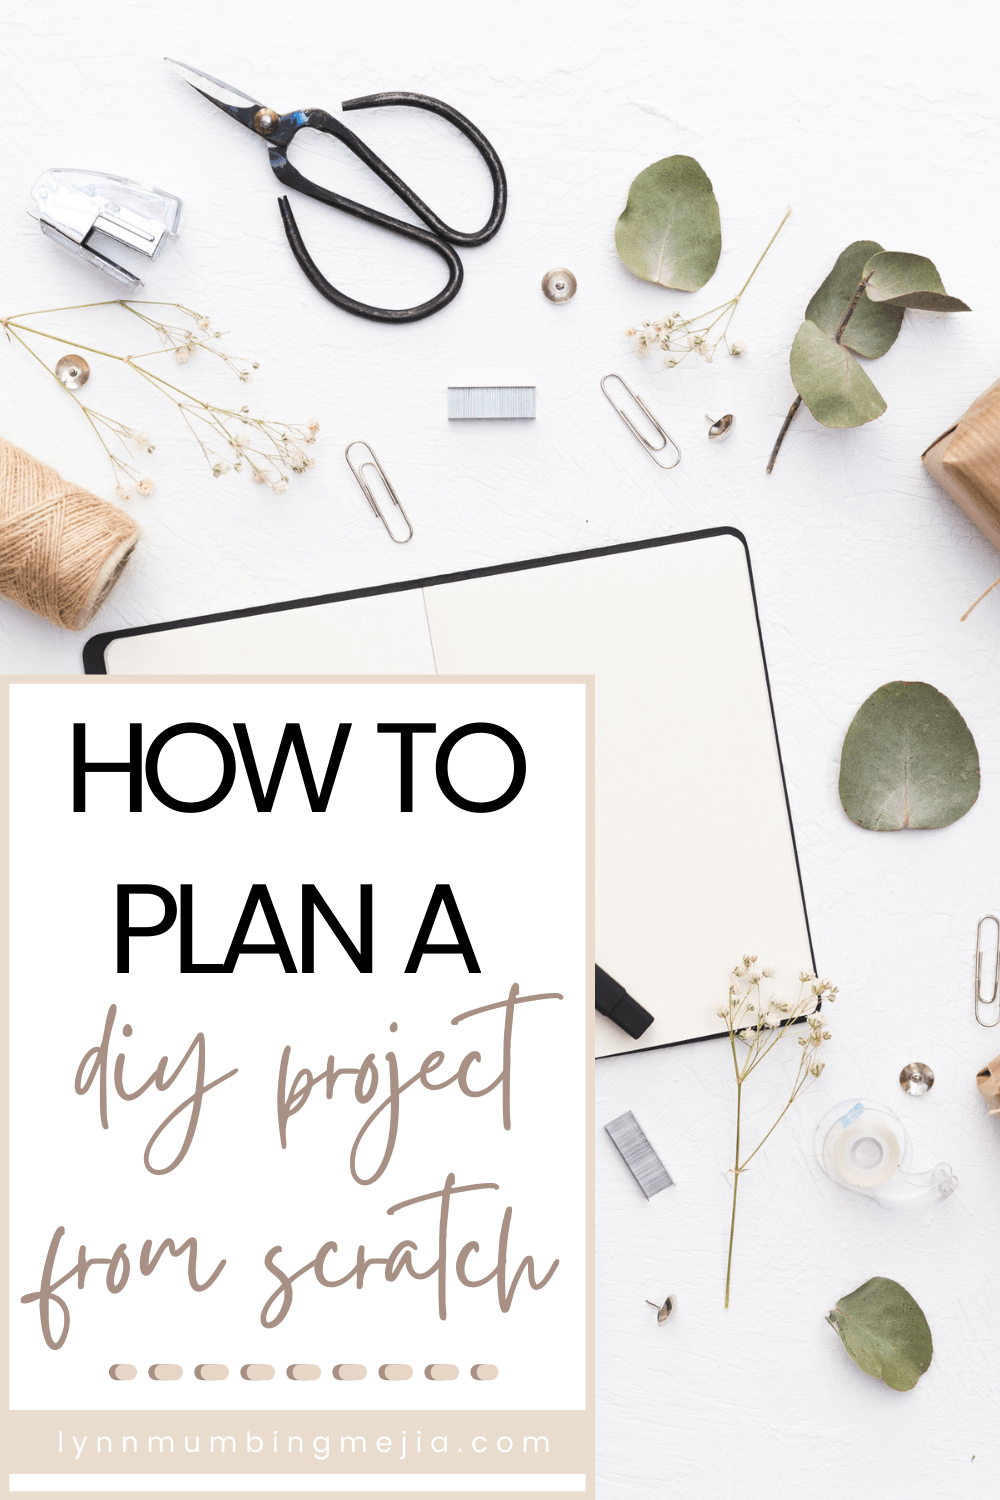
PIN How to plan a DIY Craft Project from Scratch FOR LATER:
Hopefully, after reading this you won’t have to struggle to plan the DIY project or take so long. I’m going to share my tips on how to plan a DIY craft project from scratch. Some people are complaining about it taking so long or hard to do. Well, it’s also fun and has a lot of reasons why we should DIY crafts more often.
Let’s talk about these tips and how to plan a DIY craft project from scratch, shall we? If you have made a DIY craft before. How do you usually plan it?
How to plan a DIY craft project from scratch
I’m sure most of us know this. But before I start talking about the tips on how to plan a DIY craft project. If you don’t know what is DIY means. It stands for “Do It Yourself”. The things you can do at home or anywhere by yourself. These are DIY projects and it’s not just crafting, because there are a lot of ideas that can be made. It would be considered DIY.
This post will be about DIY crafts. And it starts from when you just thought of making something. In your mind, you would be like “I want to make a DIY craft”. However, the process of following these tips on how to plan a DIY craft project could be for anyone that wants to do something crafty. Because I remember sometimes I have on my mind that I want to do it but I’m not sure where or how to get started.
You can get through it and eventually, get more ideas of where and how to start. But it will take you a little bit of time and that would be a waste. I don’t know about you guys, but if I went through it. I wouldn’t want that to happen to me again because I don’t like to let my time be wasted like that. So I created this list of tips that helped me on how to plan a DIY craft project from scratch.
Sometimes it will take time to plan the whole DIY craft because we would like to work right and make it to the last step. Don’t worry about that and it’s a normal thing. Some steps or tips I’m going to mention below might take more time than expected and it’s normal as well. These are just for you to expect.
Before I start, something I would like to recommend and highly recommend is that you need to plan everything. Even when you started and things didn’t work out, make sure to plan again and see how it happened and what you can do to fix it.
Determine the materials
When you just thought of doing a DIY craft, something I always do is that I look at what materials I’m going to use for the project. This will help you also to get more recommended DIY crafts ideas and they can be made using whatever you thought of using. It’s important to know because the process would depend on it. If it’s something difficult and requires more stuff that you would need to get them.
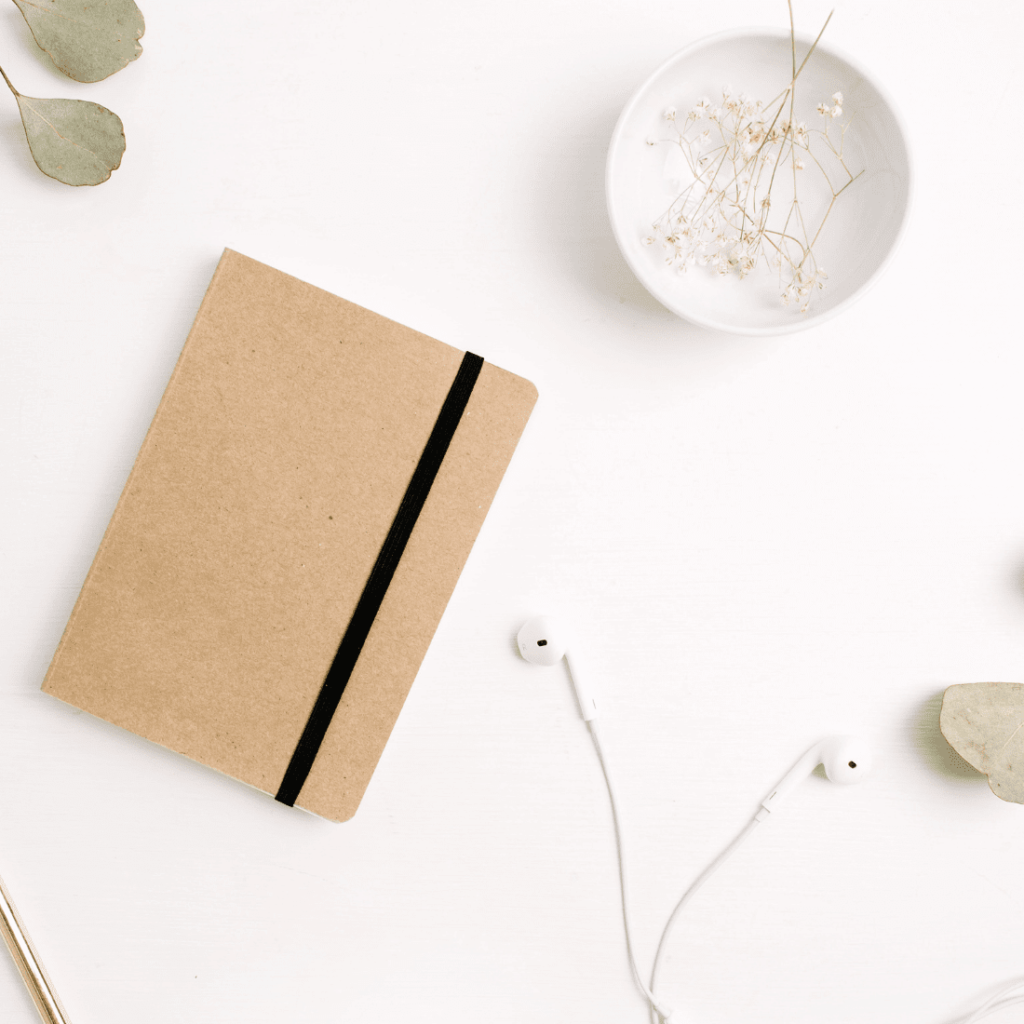
For me, I usually make DIY crafts using cardboard and paper. You can see the portable bookshelf that I made using them. And whatever material you are going to use, make sure to know all the materials. It doesn’t matter what you choose, it will also determine for you how far you can go doing other things using the materials for the DIY project. Or maybe any other DIY craft ideas.
Materials also could be clothes or metal. Make sure to choose something you can work with and perfect for your DIY idea. Because some materials require more tools. And that will stop you from doing the DIY project unless there is enough money to buy them if they cost more money haha. That is going to cost some money if the DIY idea is big and a little complicated using metals or wood.
Some materials could be for DIY craft project:
- Wooden crafts
- Cardboard crafts
- Paper crafts
- Metal
Continue reading How to plan a DIY craft project from scratch…
There are a lot of things that you can use to make something. However, the list above is probably the most known materials people would use. Some materials require additional stuff which can be sometimes hard to acquire. And we need to plan how to get that. I doubt you would choose something you can’t complete or work on it. Maybe you would need to work on getting the stuff for the project before continuing to plan the project.
I highly recommend listing all the materials that will be used for the DIY craft project. This way, when you plan the next step. You would have enough about how to do it and what to expect from materials. Also, it could be a way to get more ideas for your project as well.
What kind of DIY craft
Next when you have all the materials. Now you need to decide what type of project you want. It makes it easy for you to narrow it down. It helps us as well to get more ideas for our DIY craft. I’m sure when thinking of doing a DIY project, you would think of an idea before even looking at the materials. This will lead you to a messed-up DIY craft that no one can’t do. Sometimes we think of both at the same time which is awesome.
This is something I always do before doing anything. I decide what kind of DIY craft I want to use. Maybe it’s something that you need. And that would speed the process for you. Because that would also decide what type of project you would need to do.
How to plan a DIY craft project from scratch can also be fast and not take so much effort from us. At first, it could be a little heavy for you to plan things. But, from my experience, everything will be cool if you start following these tips. and stick to them every time you want to make a DIY craft. This is a cool step of how to plan a DIY craft project.
Kind of DIY crafts:
- Decoration
- Useful item
I usually put them into two types. One would be decoration. And we all know what these DIY decorations are. The second one is a useful item. This is my favourite but also takes a lot of time for me to do it. Because it requires more steps haha. Whatever your feelings or wants, will decide what to do next. Because I feel like from this point, it will be easy to plan things. Also, will help on how to plan a DIY craft project.
If you choose the decoration, then, it would be easy to keep planning the project. Where do you want to put it? What kind of decoration do you want? Like do you want a wall decoration, standing decoration? And it gets easier and easier to plan things out. Moving on to how to make the DIY project. The same goes with the useful items but different thinking and plans. What kind of useful items do I need? What should I do to help me?
This step might take you a little bit to organize but it will be worth it in the end. Because it’s the most important thing. You would need to imagine the idea after you decide on it. And that will make it easy for you to do the next step on how to plan a DIY craft project from scratch.
Continue reading How to plan a DIY craft project from scratch…
Draw the steps of making the DIY project
Now you have the idea and kind of craft you want to make. Only the thing left is to get started and you need to imagine and draw all the steps of whatever idea you chose. Don’t just start working on it right away because it will only lead to mistakes and make you take a long time to build it. That’s not how to plan a DIY craft project in my opinion.
Don’t rush the process otherwise things won’t go as you want. There is plenty of time for you to work on your project and see it in real life. Hold your idea in your hands, but you need to make sure everything works perfectly. And that by drawing the steps of the project before. Spend some time planning the steps of making it.
You don’t need to draw it on paper if you can’t draw or feel lazy. If you can imagine every step of the project, that would be cool. But you would need to keep reminding yourself because maybe it will be gone from thinking a lot during the process and that will make you forget about it.
I usually draw the steps and keep going through them over and over in my mind. This way, I won’t forget about it, and also it helps me be careful as I go through all the steps. However, sometimes when I get a DIY craft obstacle, some of the steps will be gone haha. And I have to remember again or get a new one.
Anyways, once you finished this and got all the steps ready. It’s time to get the tools and whatever is needed for the project. You got everything, it will be easy for you to know what tools should be prepared and how things that you will use for the project. Then, from this point, it is just you need to work and get things together.
Tip:
Make sure to keep extra of everything just in case something goes wrong. You can always have more to fix and continue the project.
Conclusion of How to plan a DIY craft project from scratch
I just mentioned steps that will help you on how to plan a DIY craft project from scratch and make it easy for you. when you want to do a DIY craft. These are things that I do as well and help me to plan any DIY craft project. And I hope that’s going to be helpful to you guys as well.
If you have done any DIY crafts, how do you usually plan them, and what kind of projects you have made. Make sure to comment below.
About the blogger:
My name is Frank and I go by Fransic verso on the internet. Started blogging when I was a kid in middle school. I wasn’t so serious about blogging when I started for a few years. And I decided to make it my business later when I got more experience. I’m the owner of Querianson and I blog about DIY craft, sharing awesome ideas with everyone. Also, talking about blogging tips. Tips for self-development to help other bloggers and people to make blogging and life better and easier. I’m on Twitter if you want to follow me.
A huge Thank you to Frank for this guest post! Thanks for reading!
Xo,
Lynn
P.S: If you haven’t read my most recent post, click here!
PIN How to plan a DIY Craft Project from Scratch FOR LATER:

If you liked reading How to plan a DIY Craft Project from Scratch, you might like these are well!
20+ Awesome Crafts To Sell In 2021
3 Easy DIY Outdoor Party Decorations
This is the end of How to plan a DIY Craft Project from Scratch.

Awesome post. Very true about thinking of the materials you need first 🙂 Next week I’m going to do some Halloween crafts with my little one which we’ll hang up around the house. Great tips! Thanks for sharing.
http://www.thetravelvine.blog
I absolutely love crafting. When I spent a lot of time in hospital, I done so much crafting which I’m pretty proud of. I love these tips! Thank you so much for sharing Xo
Elle – ellegracedeveson.com
I absolutely love DIY projects. The truth is I haven’t done one in a long time. Planning is definitely the most important plan for starting a DIY project.
Antonia || Sweet Passions
Fab post! I wish I did more DIY and crafts because it sounds like it’s a relaxing activity. I’m an organized person so I think I’d be okay with the planning and organization of it but these are great tips to keep in mind!
Great post ! I love doing cute little DIY crafts ! I’m hosting Christmas this year so I’ll definitely be coming back to this post closer to the time, saving it to my Pinterest for now.
Thank you for sharing, Lynn!
Nons Mshengu
ooh, I love DIY projects! And granted, the most important step is preparation, making sure you have everything on hand and all the other tips you mentioned here. Thanks for writing this list and making it easier for everybody 🙂
DIY crafts can be such a fun rainy day activity and I love how you can plan one from scratch! x
Lucy | http://www.lucymary.co.uk
Great post! I always have a tendency to jump right into the craft or project, so this was a good reminder to plan out materials to be better prepped for the craft. Welp, onto fall and spooky decorations!
I am hoping to tackle some craft projects in the next few weeks so this was very helpful — thanks (as always) for sharing your expertise!
It’s taken me a long time to find what crafts I enjoy. But now I’ve found them, mostly crocheting, baking and calligraphy I love having a project on the go! I love to listen to a podcast or some music whilst I craft. Plus buying the materials is so much fun!
Good tips to start a DIY project from scratch. This is awesome. Thank you for sharing.
Love this post. I have never done DIY Craft projects, but I really want to because it sounds like a nice way to relax with yourself.
Reading this post made me want to do some DIY. I don’t really do any, but I like the idea of working on a creative project. For me it would be a way to take my mind off things and if the project is useful, then it’s not only useful but also enjoyable. Thanks for this guest post!
I’ve always wanted to make DIY craft projects but I’m not that artsy and creative. It’s a good thing there are blog posts like this that share the basics. Thank you for sharing!