3 Easy DIY Outdoor Party Decorations
AD | Read more for all the details on 3 Easy DIY Outdoor Party Decorations.
Summer is in full swing and restrictions are lifting which means more outdoor gatherings!
I am the Queen of DIY when it comes to party decorations and every time I host a dinner party, let’s just say that Michael’s and Amazon are my two best friends. I run a lot of errands prior to hosting a party so getting your decorations made/bought and out of the way is better to do sooner than later.
I DIY’d most of my wedding including my invitations, signs, programs, favours etc. and out of everyone in my family, I’m usually the one that hosts most events or at least plans it so I’m used to party planning but I understand how daunting the task can be!
I admit that purchasing all your decorations can be tempting but if you plan accordingly, you can save a few bucks and DIY a lot of them! Often times, you may not even know it but the items you need can be found at home.
Do you DIY all your party decorations? I’d love to know in the comments below.
PIN 3 Easy DIY Outdoor Party Decorations FOR LATER:
People tell me all the time that hosting is a lot of work but early preparation helps so much! I usually set a date about 1 month in advance and think about what theme and mood the party will be.
Hosting guests definitely costs a lot of money so I try and DIY anything I can to cut costs. I like being creative and using what I already have at my fingertips.
Honestly, a little goes a long way and I mean it. Have you ever been to a party and it was just too much and overwhelming? The most important thing is to set the mood early on and especially if it’s a dinner party try and make it relaxing.
Do you like hosting? Or do you like being a guest instead? Hosting is definitely not for everyone so I’d love to know your thoughts below!
Here are 3 Easy DIY Outdoor Party Decorations:
Make your Own Signs and Stationery
If you’ve got a printer and paper, you can make your own signs to suit whatever theme your party is. The trick to having really classy and gorgeous printed decor is sticking with 2-3 fonts and using it all throughout the event. Using modern and fancy fonts adds the perfect touch and will make your guests feel welcomed to enjoy the party all night long. Try and use cardstock if you can for better quality!
Some examples signs and stationery you can make are:
- Invitation Cards
- Welcome sign
- Menu Cards
- Wall Games
- Name Cards
Photobooth Section
Photos are the best handheld memories and having an interactive photo booth ensures that your guests have a memory to keep with them forever. I usually look for a few props and create a simple background and set up a tripod for guests to set their phone up and snap photos to keep. If you’ve got a polaroid camera, the film might be expensive but they are a lot of fun to have at a party!
Some examples of photobooth backgrounds you can make are:
- Faux or real flower background
- Paper Flowers
- Curtains
- String Lights
- Balloons
Some examples of props you can use are:
- Sunglasses
- Bunny/Cat/Mouse/Dog Ears
- Feathered Boas
- Hats
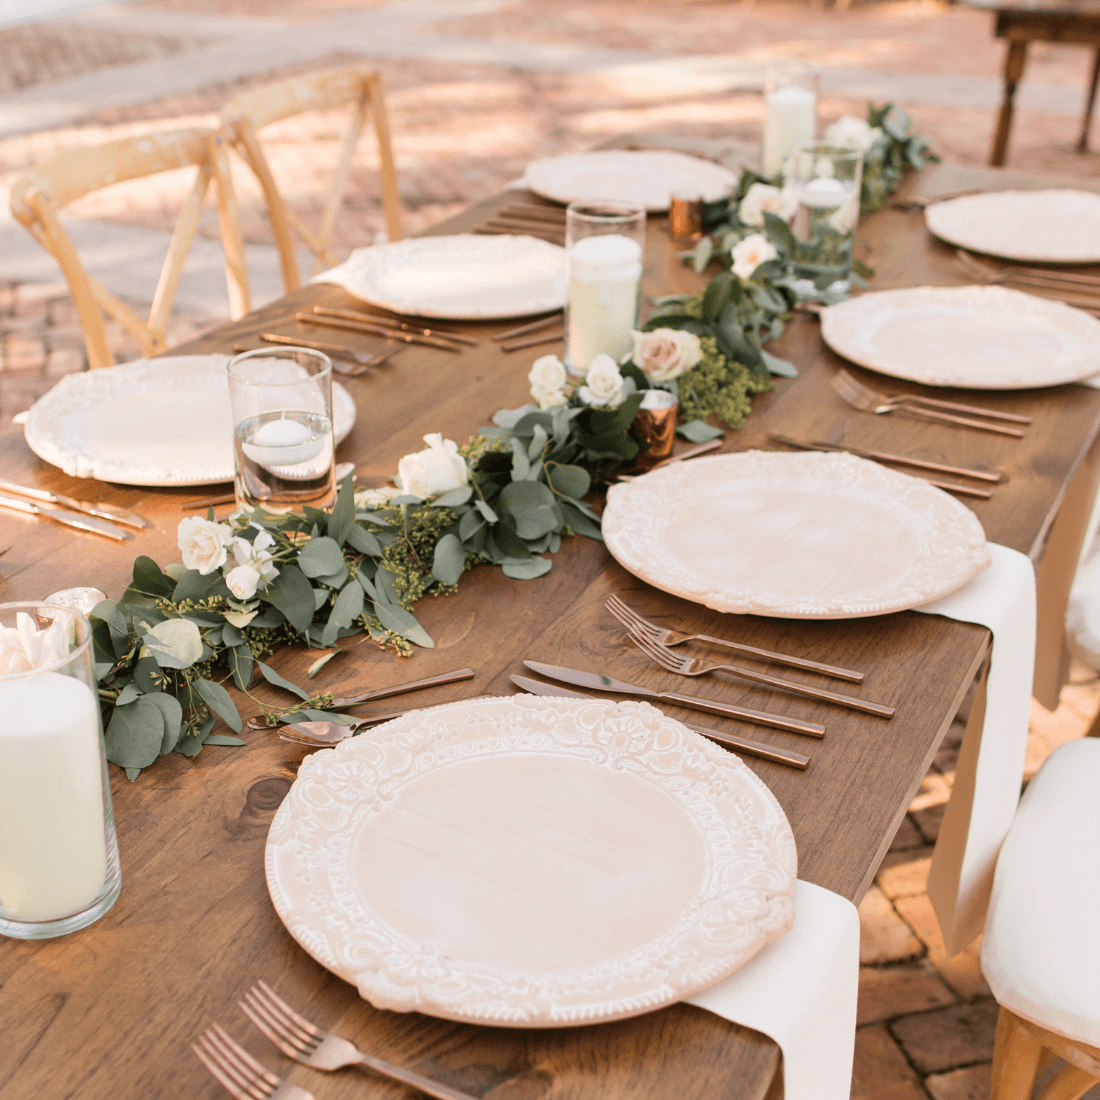
Light Jars
This is the best DIY Outdoor Party Decorations idea especially if you’re having a dinner party. String lights, candles, or lanterns really set that mood and creates a really warm environment. I like saving any glass jars I can and adding tea lights or flameless candles to them. You can either hang them up on a garland, put them up on tabletops or stable ground. Tea lights are pretty low cost and you can often find them at your local dollar store or even a grocery store.
Some examples of jars you can use are:
- Pasta Sauce Jars
- Jam Jars
- Mason Jars
- Short glass vases
Having an awesome and fun party doesn’t have to break the bank! It’s important to take a look at what you have at home and use it to your advantage when thinking about your Outdoor Party Decorations.
Hosting can be stressful but so rewarding with the proper planning. Ensuring your outdoor party decorations are taken care of early is super helpful to relieve anxiety on the day of your event.
Last but not least, don’t forget to enjoy yourself with your friends and family! Be in the moment and remember your guests are there for you and want to spend time and see you.
Happy hosting!
Xo,
Lynn
AD | This blog post is all the details on 3 Easy DIY Outdoor Party Decorations.
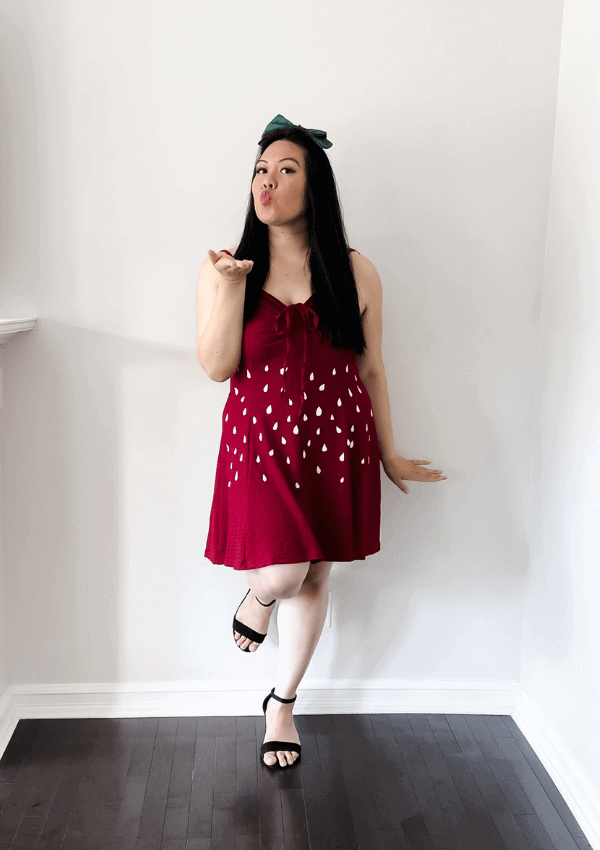
P.S: If you haven’t read my most recent post, click here!
PIN 3 Easy DIY Outdoor Party Decorations FOR LATER:
If you liked reading 3 Easy DIY Outdoor Party Decorations, you might like these are well!
So beautiful ????
Thank you so much! x
Loved all your ideas! I don’t usually have outdoor parties, but it’s definitely something I would love to do 🙂
Thanks so much, Mariana! Party planning is in my blood hahaha
I’m unlikely to be having a party of any kind soon but I love the decorations you’ve shared and may just steal some to cheer up my house, haha! Thanks for sharing!
Thanks so much for reading, Molly! x
This is such a great list! I really love the light jars idea x
Thanks so much Sophie! xx
I love the idea of DIYing outdoor decorations, the light jaws are my favourite. I would definitely do something like that for my house x
Thanks so much for commenting, Aaliyah xx
Oh, I love all of these ideas! I have made the ajr lights before, and they just look so pretty on the table, don’t they? Adds a bit of magic to the party!
Thanks for sharing 🙂
Aimsy xoxo
Aimsy’s Antics
Light jars really set the mood right! Thanks so much for reading, Aimsy xx
Love the ideas! Espcially the light jars x
Thanks so much, Caroline! x
I’m loving these outdoor party decorations! I love the light jars, that’s a lovely idea! x
Lucy | http://www.lucymary.co.uk
Thanks so much for reading, Lucy! x
Great ideas Lynn! I’m usually the one who hosts all my family events as well, so this is really helpful. DIY decorations are definitely a cheaper option and add personal touch. I really miss hosting friends and family. Hopefully I will be able to do it again soon and use some of your ideas. Thanks for sharing!
Totally! Restrictions lifted in BC so I can’t wait to start having people over again. Thanks for commenting, Tiffany! x
I love the idea of light jars filled with beautiful fairy lights. We’re a bit obsessed with them! I’ve made photo type props before which are super fun to make and also a laugh to use!
Totally right! Thanks so much for reading, Emma x
All of these sound like such beautiful decorations, and a lovely touch to any party! I definitely need to save this for when I have an outdoor party xx
Hannah | https://luxuryblush.co.uk/
Thank you so much for stopping by, Hannah! x