
Read more for all the details on DIY Dainty Painted Easter Eggs.
If you’re looking for a charming and personalized way to adorn your Easter celebration, look no further than our DIY Dainty Painted Easter Eggs. Whether you’re a seasoned crafter or just starting out, this fun and easy project will add a touch of whimsy to your holiday decor.
In this blog post, we’ll guide you through the steps to create beautifully painted Easter eggs that are as unique as they are charming. From selecting the perfect eggs to choosing your favorite paint colors and decorative techniques, we’ll provide all the tips and inspiration you need to bring your vision to life.
Join us as we explore the art of egg painting and discover how simple materials and a bit of creativity can transform ordinary eggs into works of art. Get ready to unleash your inner artist and craft a collection of delightful Easter eggs that will impress your family and friends. Let’s dive in and start crafting!
PIN DIY Dainty Painted Easter Eggs FOR LATER:
This DIY Dainty Painted Easter Eggs – Easy Easter Dollar Store Craft! is accompanied by a YouTube Tutorial. If you haven’t subscribed to me on YouTube, don’t forget to!
HERE IS HOW TO MAKE DIY DAINTY PAINTED EASTER EGGS:
WHERE CAN I FIND THESE MATERIALS?
You can find the materials for cute pastel painted easter eggs at various locations:
- Dollar Store – The dollar store should have everything you need! I got all my materials from the dollar store.
- Craft Stores: Visit local craft stores for a wide selection of plain easter eggs, paint and paint brushes.
- Supermarkets: Some supermarkets carry seasonal and crafts products.
- Online Retailers: Explore online platforms for a broader selection of crafting materials like Amazon.
WHAT ARE THE MATERIALS?
The materials you need to create these cute painted easter eggs are:
- Plain white easter eggs (avoid the plastic ones as the paint will not stay)
- Acrylic Pastel Paint (or paints of your choosing)
- Paint Brushes
- Plate (to put your paint on)
- Newspaper or paper towel (for less mess on the table you’re working on)
- Egg stand (while your eggs dry, optional)
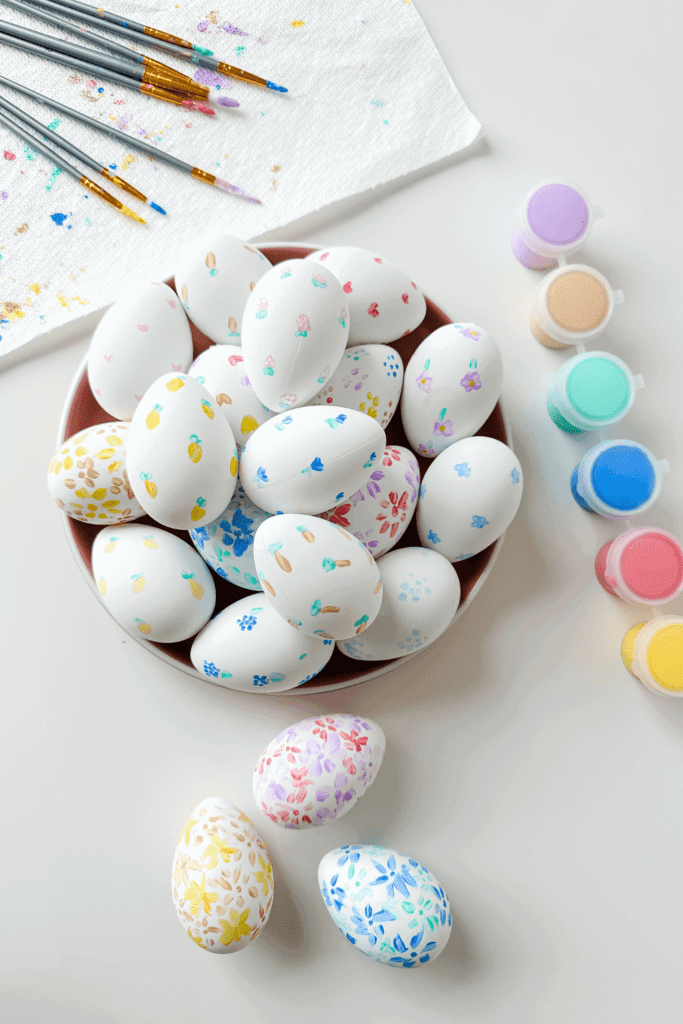
WHAT EQUIPMENT DO I NEED?
This craft is super easy! All you need is some plain white eggs, acrylic pastel paint, and paintbrushes. I honestly just placed the eggs on a paper towel and since we use so little paint, it dries super quick. You can try and get an egg stand but I find them unnecessary and a little bit expensive.
Here are my Amazon favs:

HOW LONG DOES IT TAKE TO MAKE?
The time it takes to make DIY Dainty Painted Easter Eggs depends on factors such as the number of eggs you’re decorating, your painting skills, and the complexity of your designs. Generally, you can expect the process to take anywhere from 1 to 2 hours for a dozen eggs.
For me, it took about an hour in total and I made about 2 dozen eggs. The designs are so simple and minimal that each egg doesn’t take too much time to paint!
WHAT ARE THE STEPS?
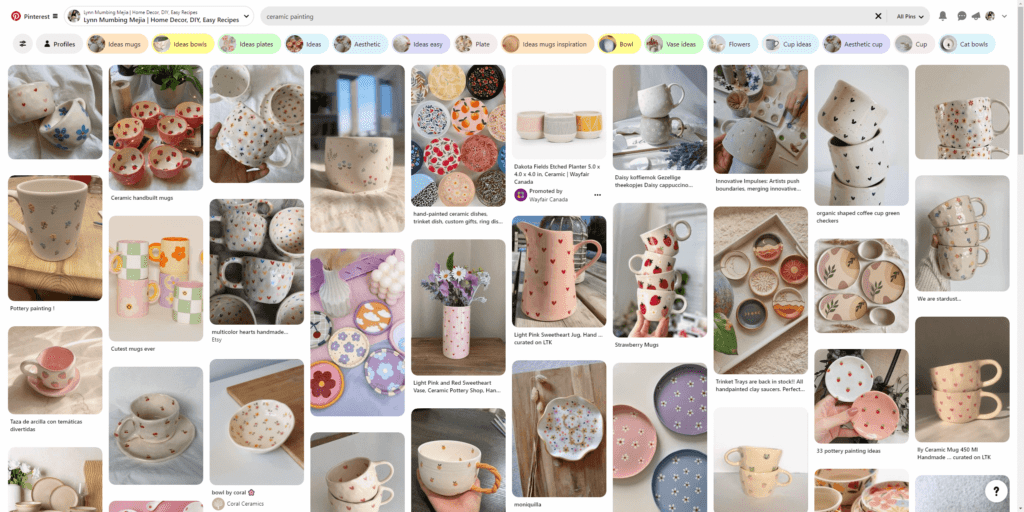
Step 1: Get some inspiration from Pinterest
Pinterest is my favorite app! I love how everyone is so creative on this platform so I get a lot of my inspiration from here. I was going for those gorgeous ceramic painting that has been trending! So, all I searched for was “Ceramic Painting” and found lots of little designs!
Step 2: Squeeze out some blobs of paint onto a plate or plastic tray
Choose the colors you’d like to work with and pour some out. Be sure to not do too much as the paint will dry quite fast. Just refill as needed.
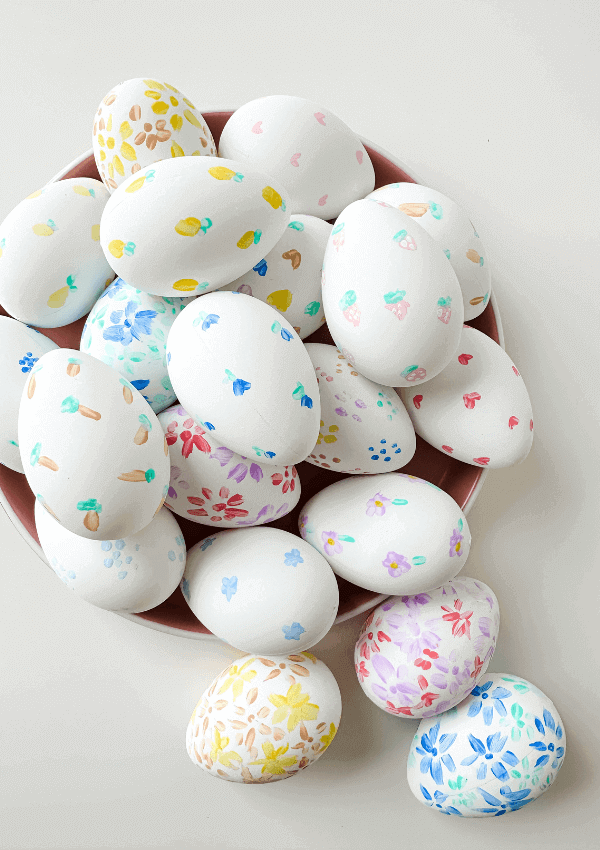
Step 3: Start Painting!
I usually hold the egg some top to bottom and just start doing my random cute little designs throughout. Get creative as you’d like and remember every egg is unique. No two eggs must be the same!
Step 4: Let dry
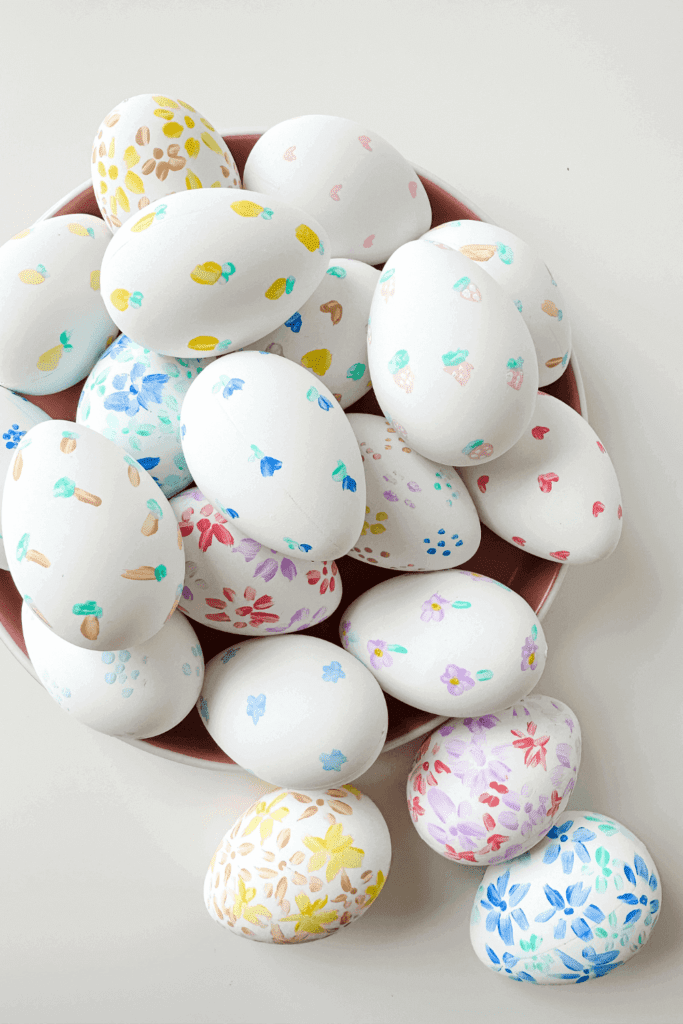
Let your eggs dry by placing them on a paper towel or an egg stand then use them to decorate your home for Easter!
Crafting your own DIY Dainty Painted Easter Eggs is not only a delightful way to celebrate the holiday but also a fun activity for the whole family. With endless possibilities for creativity, these charming eggs will add a special touch to your Easter festivities. Get your brushes ready and let your imagination soar as you create a collection of unique and beautiful Easter eggs to cherish for years to come!
Happy painting!
Xo,
Lynn
Are you going to be making these DIY Dainty Painted Easter Eggs?! Don’t forget to tag me if you do!

This blog post is all the details on DIY Dainty Painted Easter Eggs.
P.S: If you haven’t read my most recent post, click here!
PIN DIY Dainty Painted Easter Eggs FOR LATER:
If you liked reading DIY Dainty Painted Easter Eggs, you might like these are well!
Easter Veggie Tray – Carrot Themed
Cute Paper Easter Bunny Garland – Easy DIY!
Easter Muddie Buddies Recipe – Easy Sweet and Salty Snack!
22+ Delicious Easter Dinner Recipes
44+ Easy Easter Crafts For Kids
This is the end of DIY Dainty Painted Easter Eggs.


Oh, my goodness these eggs are so cute! I love the idea of painting eggs in this way as they really look great. Thanks for sharing this Easter idea.